May 18, 2014

gavin seim mono lakeby Gavin Seim: Today we’ll dig deep into using signatures and branding on images. Both on the web and in print. We’re going to address nearly every aspect representing years of trial and error for me. Everything from using your digital logo and signature to what pens to use on your prints for hand signing. lets start with a question?

How often do you go into a gallery and see a masterpiece not signed?
How often does that same piece have a HUGE watermark across the front?

If your name is not on your images, you lose. The truth is, selling images is not simply having passion, it’s about business. Is your work a piece of paper, or is it a piece if art? Many people who don’t brand their images do so because they lack branding experience, or don’t consider their images of enough value to hang equally next to other art. Some on the other hand some take things too far, ruining their presentation by going overkill. Petapixel did a fun satirical article on this awhile back.

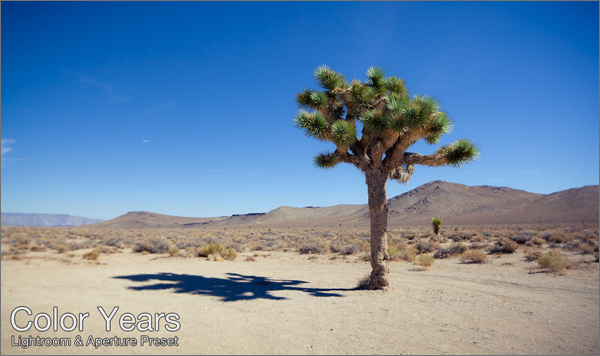
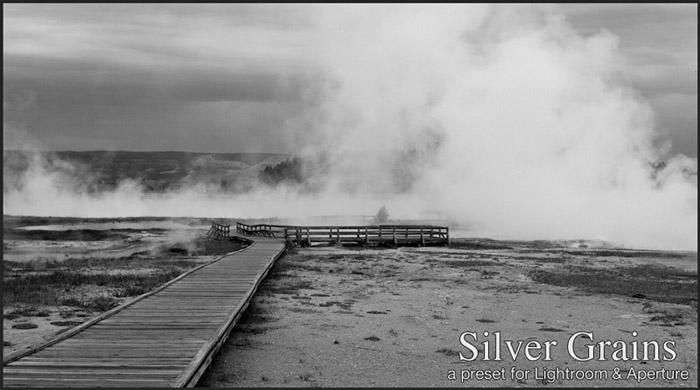
Remember, classy branding on an image generally adds value. How often do you buy a book without the authors name on the front? Even our cars have branding on them. If you bought a Ferrari would you want it without the emblem? I think not. Why then should the art we sell be unmarked! Are there exceptions? Sure, but not many. For example a commercial client may require unbranded images, but they should also expect to pay a premium for that. Artists have been branding their work for centuries and so should you. Lets examine different approaches that I have discovered over years by trial and error.

art-prints
My image of the Seattle skyline shows an example of how I mark images for gallery and print exhibitions. I hand sign my best pieces, as we’ll talk about below. Take the time to work on a great signature. While this one is subdued, people do look at signatures and names. For print preservation a clean signature works well.

What To Do?

This whole topic is fraught with debate. No doubt some will disagree with me. That’s fine. Though I’ve probably slaved more than most in the industry on this. I’ve come to a place where I have an understanding of my brand and my presentation. This is not my random inexperienced opinion. I have gone to galleries, looked at the works of master painters and studied the techniques of others. I sell all my portraits and my fine art using the approaches I’m about to share. I’m always refining however and will update this study accordingly in the future.

Read More

December 9, 2010

Wow another year has gone by. Crazy stuff.  It’s been a busy year here and I’m thankful. Seim Effects keeps growing by leaps and the new products have done great thanks to all of you. There’s more good stuff in the works. In the growth of Seim Effects I hope that the focus of what I do here has stayed strong. Good products and the great service to along with them.

Anyways on to the goodies. Merry Christmas to all of you. This years freebie pack has something for just about everyone and I hope you’ll enjoy it. Lets take a peek.


Lightroom Presets:

  • Color Years: I made this to look back on the refinements and experiments I did with color this year. It’s a subtle but delicious color twist that will work on a variety of images.
  • Silver Grains: 2010 Was a big year for editing. LR3 and Aperture, CS5, better RAW processing. For me a growing passion for black and white. I have lots of new Silver tones in the pipes, but here’s a rich silver effect with smooth blacks and bold tones.

Aperture Presets:

  • Color Years: 2010 was the year presets finally came to aperture. I’m working with it and have a full collection in the works, but I made the Color Years effect for you today. It works very similar to the LR version.
  • Silver Grains: I decided to keep it simple, so this is also similar to the LR version. Of course the programs process a little different, but the concept was the same.

Adobe In Design Album Template: You’ll need Adobe InDesign for this. But it’s a big one, so even if you have to download a demo from Adobe, give it a shot. InDesign is how I make albums and it’s blazing fast. Makes Photoshop for album design look like a slug on the Interstate. UPDATE: The main album file is CS5 only. I updated the download to 1.1 and included a .idml file for CS4 users. More info in the download.

More details on all this stuff in the What’s Inside” document included in the download, which I’ll give you right now. Enjoy… Gav

Download Christmas Pack v1.1 – Zip

Read More

August 31, 2010

By Gavin Seim: Last year I posted a collection of LR2 print layouts for making page designs in Lightroom. With LR3, things have changed a bit and we now use the Custom Package option to make layouts. It’s more powerful and has more features. For that reason however the old layouts no longer work correctly. If your using an older LR, you’ll want the old layouts. If you have LR3 download these new ones for more variety and cool new stuff like controlling background color and drag and drop simplicity.

While there’s some album design style features I would like to see added, LR3 is defiantly coming along in allowing you to make layouts. Once you have these installed (see here for LR preset install video) you select the layout you want in the print module. Then simply drag and drop images from the filmstrip into the cells. When you done you can print or print to file to save as a JPEG.

Now in my opinion these do not replace a tool like In Design for doing full on album design (weddings for example). It has far less features and there’s really no ability to save a project with its layouts. That said, these can be great for quick layouts, folios or album pages. This download has 9 different 10×10 layouts, with both black and white background. If you like them and want more I may consider a complete set in the future. Enjoy… Gav

Download LR Page Layout Templates II ZIP

UPDATE: Using The Template Presets:

Once installed (see link above), go to the print module and select the layout you want. You can mouse over presets to get a layout preview (top left). Once you have the desired layout, simply Drag in images from the filmstrip into the open spaces.

Images will fill the cell irrelevant of aspect ratio. If the cell crop of the image is not the way you want, hold the CMD key (CNTRL on PC) and drag the image inside the cell to the crop that works. Also don’t hesitate to play with the settings and make your own layouts (changing border styles etc).

Exporting & Printing:
Once you have the desired look you can print it out directly. More often however you’ll probably want to export them to send to a lab or make a book. While export does not actually work from the print module, you can quickly achieve the same result by printing to JPEG.

To export the layout just use “Print To JPEG” from the “Print Job” menu in the right side (see image below). Click the “Print To File” button and the file will save out as high res JPEG file ready to be used. Repeat for each layout and Presto you have your ready to upload or save for later.

Read More

August 29, 2009

by Gavin Seim: I’m a Lightroom fanatic, but with my recent expansion into projecting proofs to sell larger prints and increase my sales, I started looking at software for projecting scaled images using my digital projector. The choices were limited. Whats being using now, is expensive software like Prism Projector, or Pro Select. These are good for some, but cost hundreds of dollars and have a bigger problem in that it throws a curve ball into a well planned workflow. They make us entirely leave Lightroom for the sales presentation. Not cool.

At first I couldn’t find a way, but I kept experimenting and finally I figured it out. I found I could make special print templates in Lightroom that could be scaled to the screen size and project images to size without ever leaving Lightroom. I call them Projectics.

projectics-sales-presentation1

I can’t tell you how excited I am about this. I’m now actively using Lightroom for my proof sessions with great results and no need for external software. No it does not have all the gimmicks and frills that some other sales apps do, but I for one don’t need those.  I just need to project various images and sizes easily and effectively and that’s what LR can do. Using the scaled presets I can change sizes instantly. Then since I’m still in LR I can pick favorites, add things to collections, and even do edits without every leaving my workflow.

In the past I’ve written about using a separate Catalog for each job. There’s no rule you have to do things this way, but it makes more sense all the time. Since I’m sometimes in the studio and sometimes taking my Canon LV7370 on location, it keeps things really simple. I can simply copy the entire catalog for the session onto a portable drive and off I go.

projectics banner Home

Yes, I’ve made a collection of these presets to sell. Hey it’s what I do. You could make some yourself, but if that does not sound fun, I’ve done the math and tedious stuff and made a simple set that just works and will continue to be updated. Either way Lightroom is a powerful sales tool and I need no other sales software to proof, project and sell large prints.  Oh and if you want to learn more about the sales concepts of all this, check out this article about selling large Wall Portraits.

Whether you get my presets or not I suggest you head over to the Projectics page and watch the video because it will show you how it all works and how I’ve integrated it into my workflow. The power of Lightroom keeps growing and I thrilled. Time is money, and projecting proofs is a key element in great prints sales and placing beautiful prints on your clients walls… Gav

Read More

August 5, 2008

I just wanted to give everyone a shout out about the Seim Effects club. It’s nothing too formal, but it should be super fun, and it’s totally FREE!

Here’s the plan. I make a LOT of effects, some of which don’t make the final collections, and many of which do. For Seim Effects club members I’m going to be sending out free goodies for you to try out, and hopefully give feedback on so you can have your say in future releases. Also for being a part of the club you’ll get special discounts and promotions.

All you have to do is become a Seim Effects fan on Facebook. Also you can follow me on Twitter to get updates and cool stuff cool stuff, and a stream of cool photo related ideas and links. Join us on both!

It’s FREE! So join the club. Here’s the links… Gav

Read More