Recently we released Color Fantasies 2 here at Seim Effects – It’s a powerful collection of over 100 presets like you’ve never seen in Lightroom. It’s color alchemy at your fingertips, from Hollywood style color tones to film inspired simplicity. But we know that not everyone will be ready to jump in and buy a premium presets pack right off. That’s why we’re giving you free presets – Good ones too.
Below you can download 15 premium presets from Color Fantasies 2. No strings attached. Downloaded, install and start seeing what kind of color is possible within Lightroom. We hope you enjoy and when you see how powerful they are, you’ll check out the complete collection. If you have any questions or problems just get in touch – effects@seimstudios.com, or give us a phone call – 509 951 4860. We really are here to help.
Gavin Seim
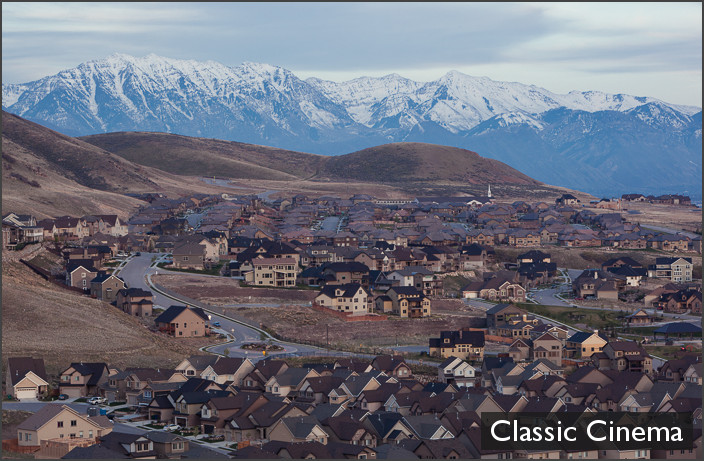
Below a few before and after examples – See more and try out all the presets in the virtual demo on the Color Fantasies 2 product page.
[beforeafter]
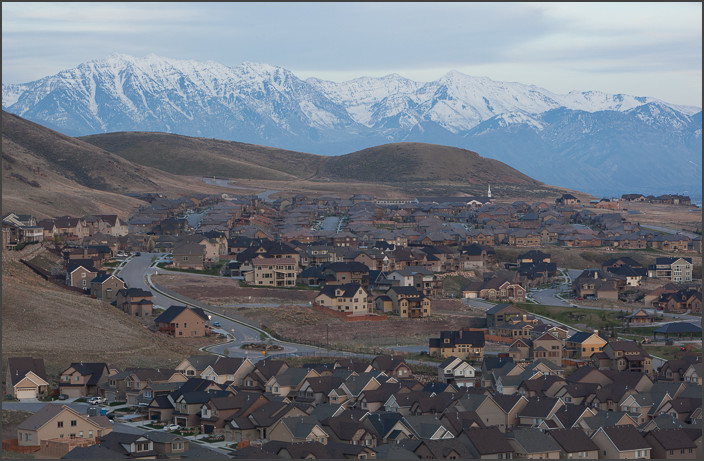
[/beforeafter]
[beforeafter]


[/beforeafter]