December 27, 2022

We’re going to talk about the 3 Lightroom and Capture One presence sliders today, but I’m not going to teach them the way Adobe does! We’re going to reverse things!

Presence – Clarity VS Texture VS and De-Haze are important!

These all affect the atmosphere. I make use of them in nearly every edit. You’ll also see them used in subtly different ways when I make Lightroom Presets and Capture One Styles pack like Filmist, and Versus when I make tools like Natural HDR.

You’ll also see me use all 3 of these deeply in Lightrooms Ai presets that I include in Silver 5 and Elegance Speed Masks.

Watch the video below or HERE on my Channel.

I simplify Clarity, Texture and De-Haze in the video. But here’s an overview of what the presence sliders do.

You know about the presence sliders in Lightroom or their equivalents in Capture One. But do you know that these sliders are often used really badly? I’ve taught Lightroom since version 1, but I’ve rarely seen these sliders taught well. Today I’ll show to use them for near-magical results!

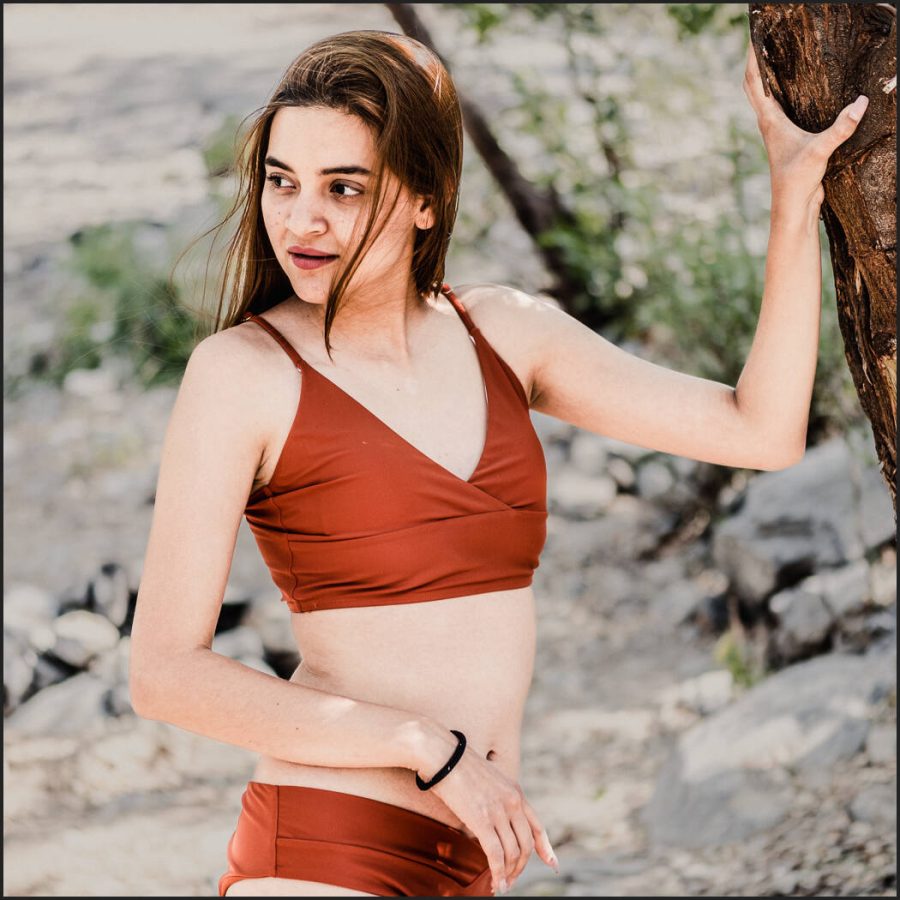
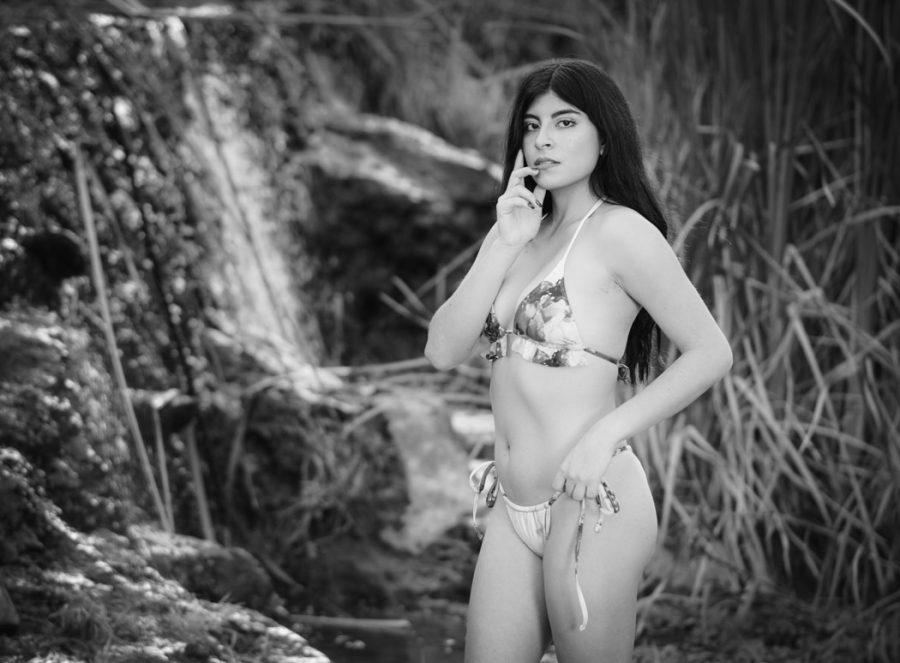
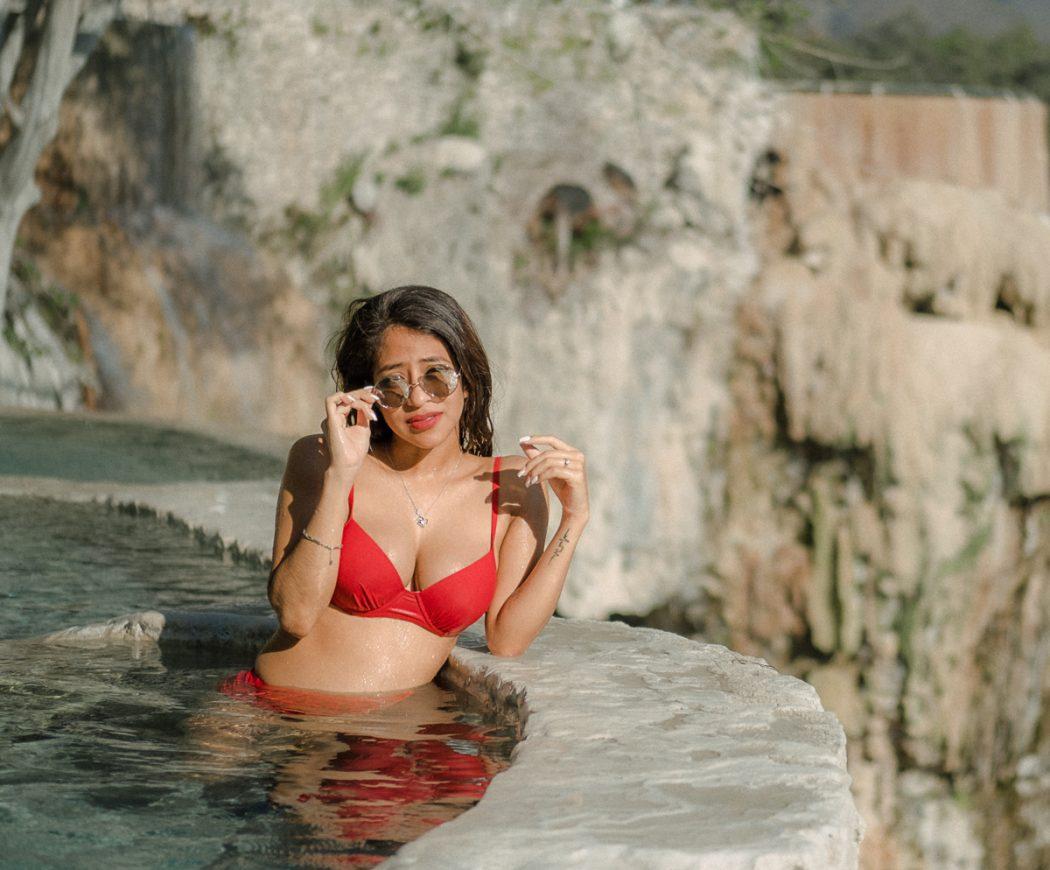
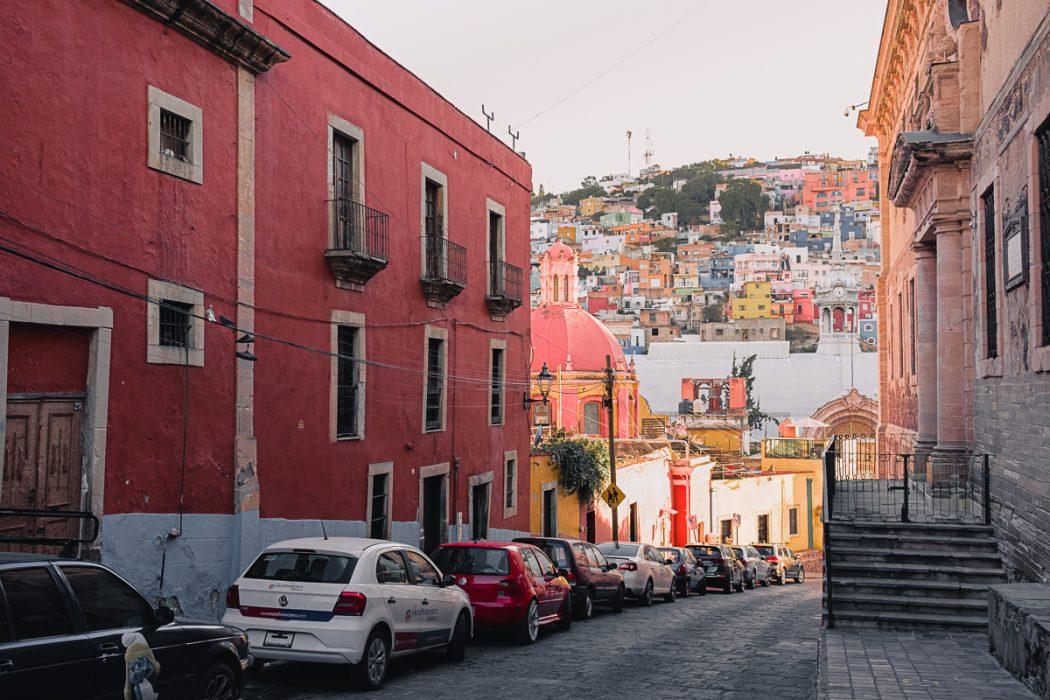
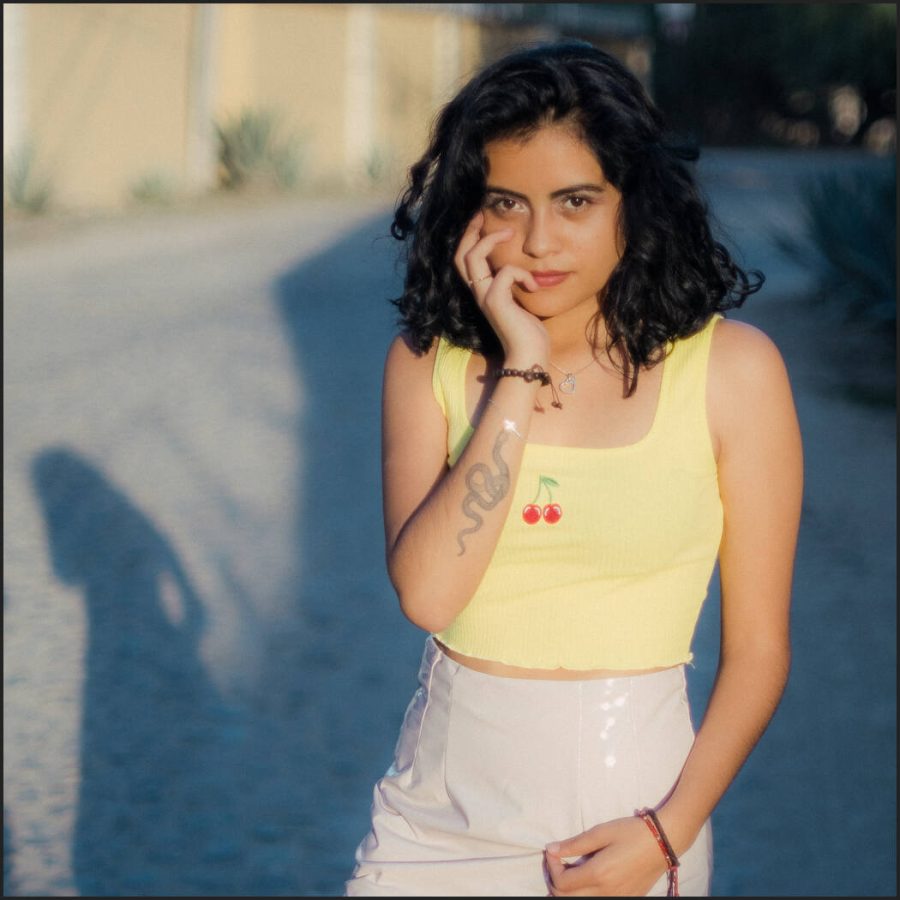
The clarity in Lightroom and Capture One allows you to adjust the midtone contrast of an image. By increasing clarity, you can add depth and mid edge definition to your photos, making them appear more detailed in a gritty vs softness sense. Clarity can soften the appearance of an image and give it a more ethereal or dreamy look.

Mixing them up for more presense. Here Elegance Ai masks are used to bit globally we lowered Clarity while increasing Texture. This combination can give a perfect mix of detail and softness.

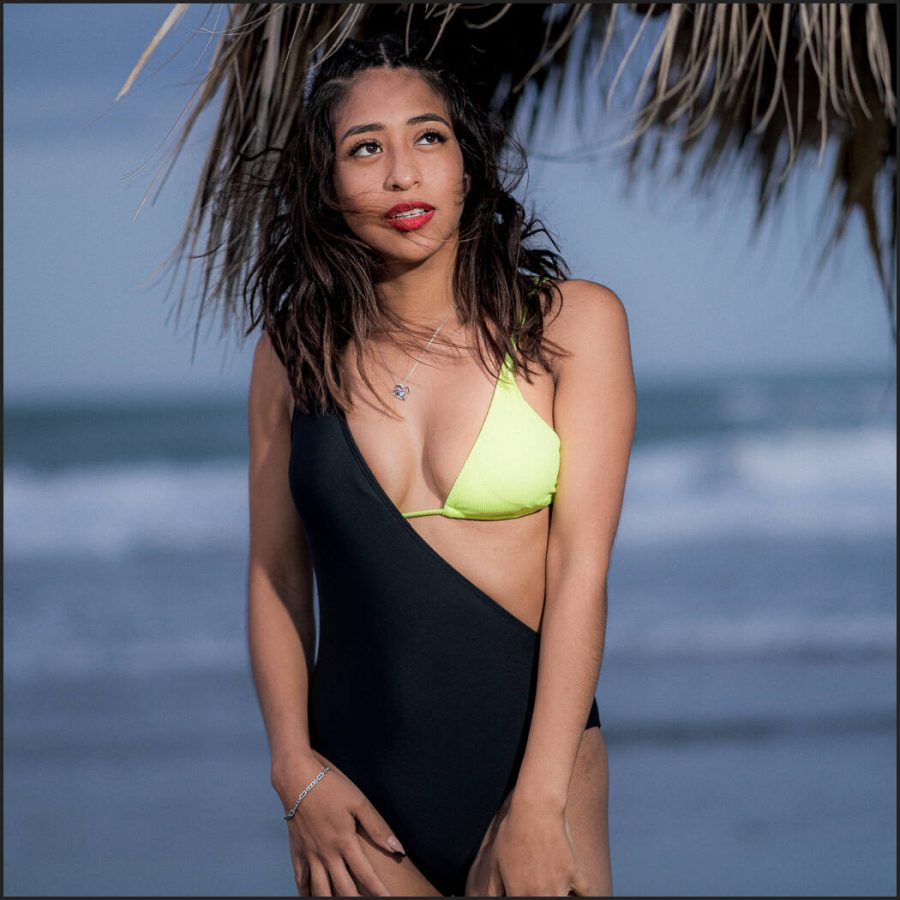
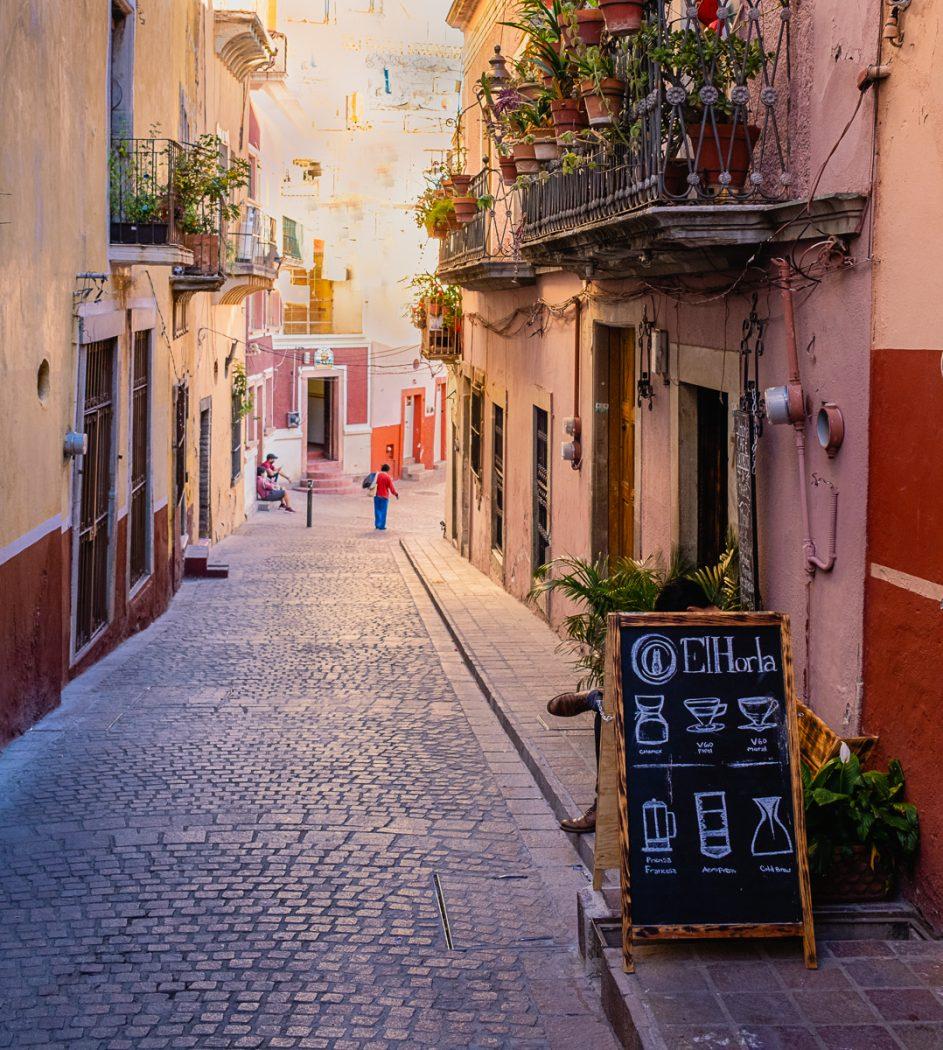
The texture is a newer but more important feature in both Lightroom and Capture One. It allows you to adjust the amount of detail and texture in an image, which can be particularly useful for enhancing the appearance of skin, fabrics, and other fine details in a photo without the ultra-fine lines and artifacts that come from heavy sharpening.

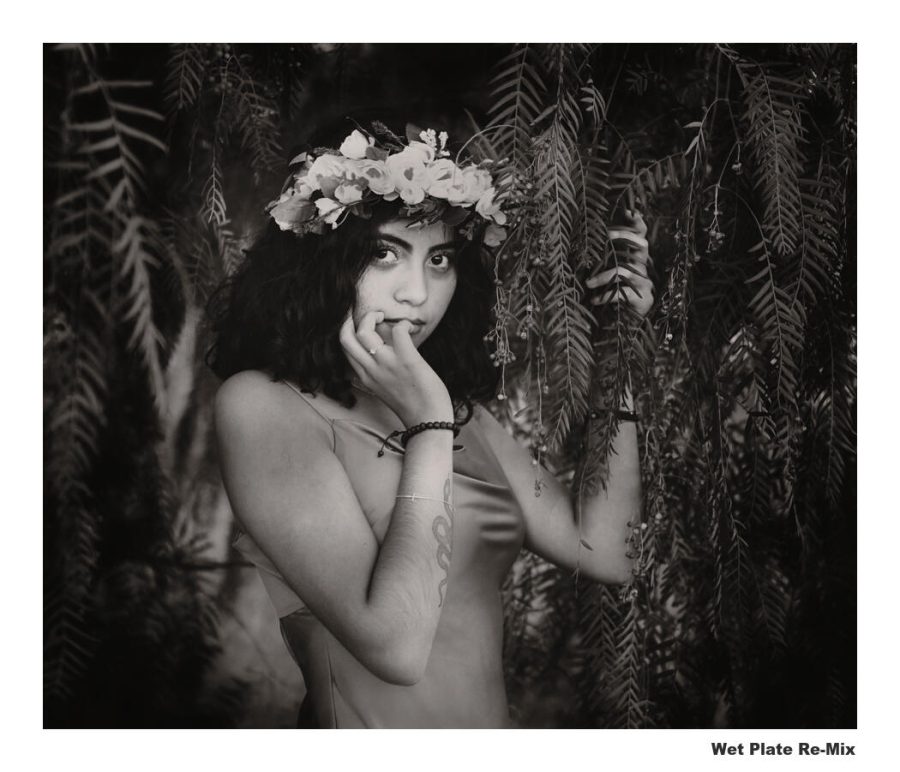
By increasing the texture, you can make these elements of your image appear more detailed and realistic. Conversely, decreasing the texture can smooth out rough or bumpy surfaces, giving your images a softer look. This can be magic in portrait edits.

All the presence sliders are up a bit here because it brings our richness and texture. But don’t assume that just because it’s food or streets you always want to turn them up. Go down also and watch good things happen.

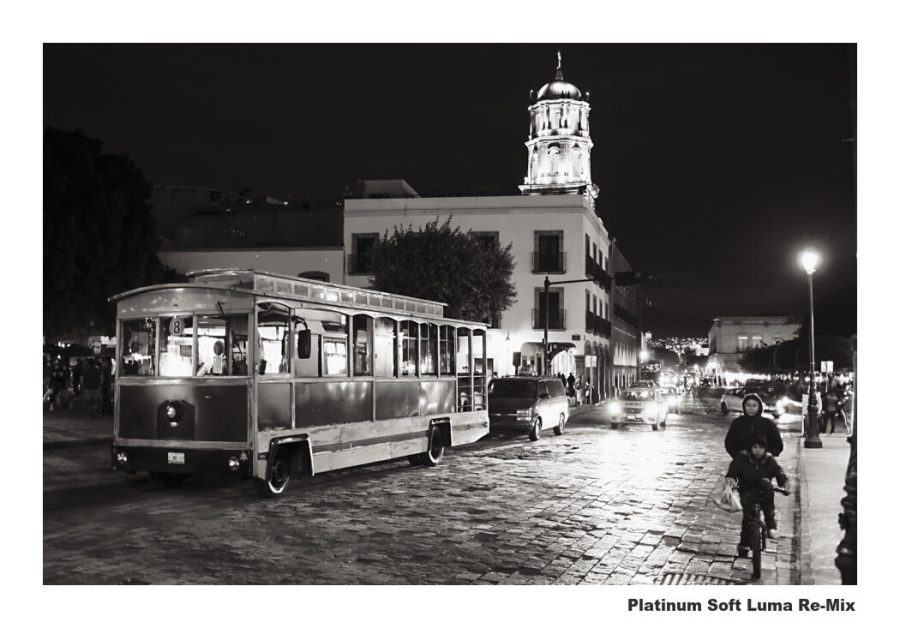
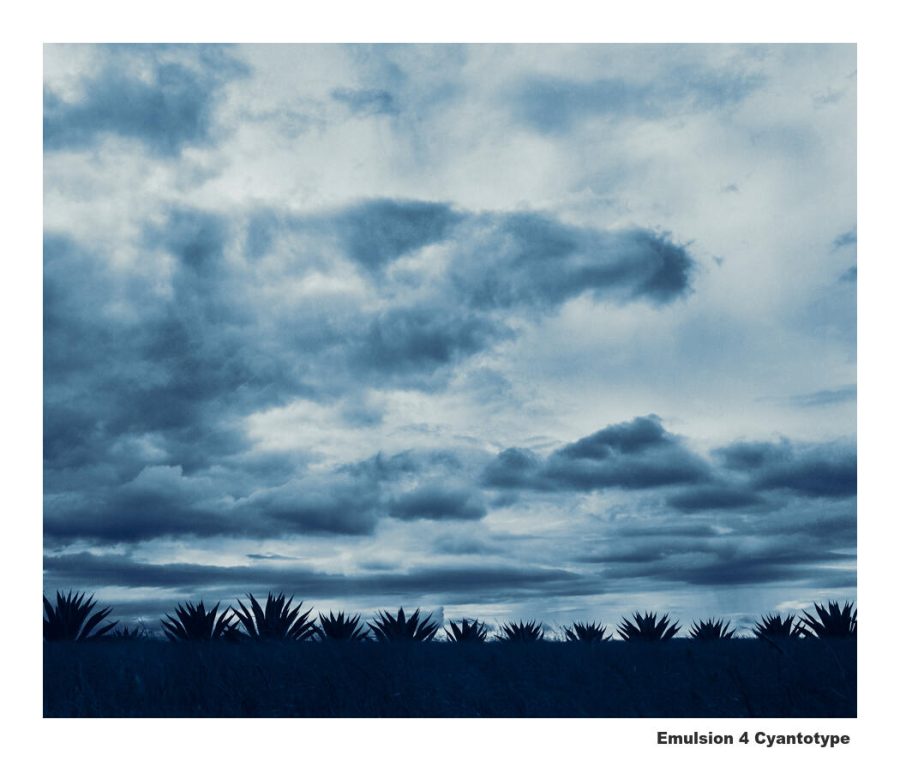
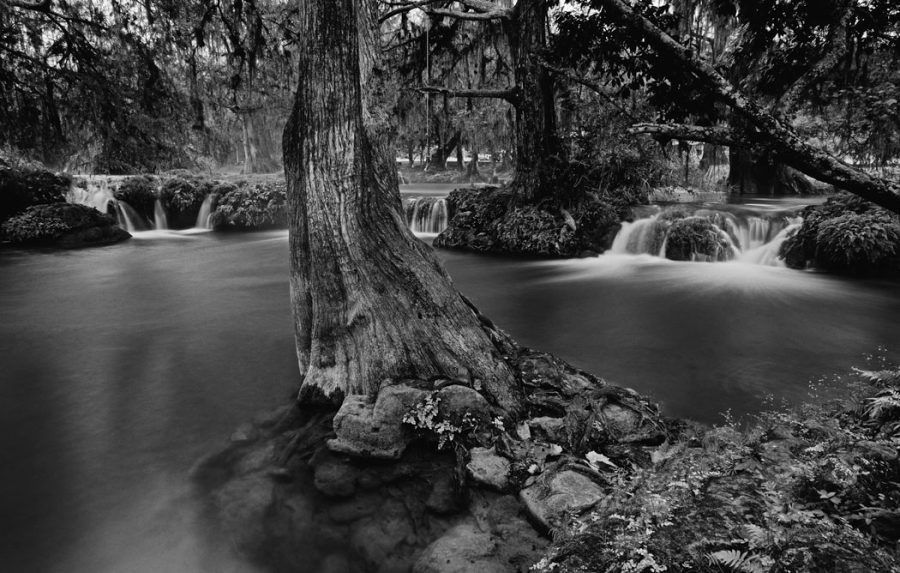
The De-haze is a useful feature in both Lightroom and Capture One also. It allows you to remove hazey feeling from images. By using the de-haze feature, you can remove this haze and restore the detail of your images in a broader contract sense that’s almost like combining Blacks and Whites. BUT… Don’t always turn this up…

Reversing De-Haze is really taught and VERY powerful. I’ll show that!

I turn Dep-Haze down as much as I turn it up. Maybe more. Because when creating authentic films, organic feeling portraits, and gentle tones, photography ten to use these contrast and presence sliders altogether too much.

IN this POrtrait I used the FIlmist Portra 160 preset and then pulled down Clarity, Texture, and De-Haze a bit to give a natural organic lens feel that reminds me of how we used portrait filter on the lens all the time in the film days.

Clarity, texture, and de-haze are powerful tools in Lightroom and Capture One that allow you to fine-tune the surface of your photos.

I hope you enjoy and share this because if you know what these sliders can do for your photos, you will improve your ability to edit with them. If you use my presets, pay attention to how I apply these 3 sliders. A little can go a long way and really perfected looks can be created using these settings.

Gavin Seim

People often confuse clarity for HDR. But as I show in Natural HDR presets, they are not related. This is too much clarity for this portrait. There are times for a gritty high-pass style portrait. Or maybe you are creating a theme that;’s intense. But unless it’s for a solar reason, avoid too much.
Read More

September 10, 2022

Platinum, Cyanotype, Colldoain, and Seleneum are all inside the Emulsion 4 darkroom actions pack.

Emulsion 4 has been out for a week making dakroom actions easier than ever. Now I made a complete series on how it works and how to create amazing effects with them. And I finished the Emulsion 4.1 update which brought even more refinements including my new favorite Platinum mix based on very finely made soft platinum prints from the darkroom.

If you don’t want to read this… Go watch the complete playlist on my channel.

A lot of people avoid actions because they don’t want to use Photoshop even though they have it. There missing out because there is no easier way to use Photoshop. The experienced user is more creative and saves countless hours while the new user gets advanced effects simply and learns more along the way.

Emulsion takes completed layer mixes in Photoshop and makes them easy regardless of Photoshop experience level. But I’ve been listening. People have been saying, Gavin, we want more detailed videos So for Emulsion 4, I just finished a complete training series and uploaded it as a playlist on YouTube.

This is basic training, but you can watch the complete playlist here.

There are videos on installing Emulsion 4 all the way to advanced user guides that show you how I like to each use of the chemical emulsion in the action pack.

There is a separate video for how to create Cyanotype, how to manage all the PLatainum Palldidum effects, how to use Selenium toning for digital, and how the Wet Colldoain effects can be mixed in many ways.

The main thing to remember as you use EMulsion or any of my other actions like Blackroom, Lumist, Naked Darkroom etc. Is that I develop these to make complex tasks easy, not take away control like so often happening in plugins.

After every action, you have all the layers and all the control. If you are not very experienced in Photoshop it’s fine, just use the look as you see it and gradually start playing with layers. If you are experienced, the sky is the limit and you can tinker more. Either way, you’ll save a ton of time because Emulsion 4 is doing the hard work for us.

Please leave a comment and tell me what you think of Emulsion and this training format. Or tell me what videos I need to make to add to this playlist. Either way I’m here tp help you with Emulsion 4 so you can creat amazing chemical tones photographs.

Gavin Seim

Read More

August 12, 2022

Should you use Capture One or Lightroom for your black and white edits? PLUS where does Photoshop for black and white fit in?

We’re going to test that in today’s video with direct comparisons. Taking the sale filed and editing them in each to see what gives us the best black and white in the least time. I’ll give you tips for all of them along the way.

Also, see my Lightroom vs Capture on 2022 video here for a general overview of these two great apps. For now, let’s watch today’s video and do some black and white tests.

Since I started digital photography 20 years I’ve seen just about every technique for Black and White in digital Some needless complex. some are just ugly. Simplifying that process led me to bypass plugins and create tools Like Silver 4 presets and Blackroom BW Actions.

Pure Capture One. While there are fewer BW sliders, you can make up for it with the more advanced color tools and get a stunning result.

Honestly we B&W lovers occasionally get a little snobby, so this question can be complex. But since we no longer have the chemicals we used to use in the darkroom the traditional color filters do not have the same effect. Today to take the same principle and make it work digital.

The best black and white conversions usually start for a color photo because with those color channels we can convert and extract the colors, much like we did with filters in the film days but with more detail. Darkroom like green filter, lighter reds, etc. If you bake black and white in camera, you lose all that power. That’s not to say your BW photos are wrong. Just that they are not as flexible.

So I usually convert on the raw file. In LR or C1. I use my SIlver 4 presets if Filmist. But whether you use creative presets to go further, or all manual. You don’t want to supply desaturate. Use those channels and the power of your RAW.

Watch today’s video above, because we’re looking at Lightroom VS Capture ON in a side-by-side level. Does one give you a better black and white conversion than the other and what are the advantages between Lightroom and C1.

After that, you can go deeper into your black and white edits..

If I’m going to edit my best work. I go beyond RAW. I’ll restore the color channels before going into Photoshop, leaving my other edits in place. Then I can go deeper with my black and white edits. But they are also more complex in Photoshop.

Sometimes it’s not even clear how you can make a better black and white in Photoshop. I use Blackroom to convert to a more complex BW because it always helps me find a way to improve the edit without stumbling around. That’s what it was built for.

More about how I do those more advanced edits in this video and on the Blackroom page.

Lightroom is a little more user-friendly compares to Capture One. But with Styles or presets, you can get your look fast in both.

In conclusion. Which is best? LR, C1 or PS

When it comes to Lightroom VS Capture One for black and white. I think Lightroom has the edge for ease of use and results that just work. Capture One with its other available tools can perhaps give you more options but with more work. Both are going to work great if you save presets or styles or Have a pack like Silver 4 or Filmsist on hand.

In the end, both are good and the results will be good.

But comparing both to Photoshop. Photoshop offers more options, but with a lot more time spent. Even if you use Photoshop actions to vastly speed up these more advanced edits, Photoshop should probably not be where you start.

Edit normally in Lightroom or in Capture one or another RAW-type editor. Then take the very best images you want to showcase to Photoshop to give them that edge that makes them win.

Lastly, plugins for black and white are heavily hyped. I used them when I all this starting out but native tools have improved a LOT since those days. As I mentioned in the video, a plugin adds another step and takes away control.

Yes, using presets and styles and actions help a lot because they make hard tasks fast. But they use the native app tools in Lightroom, Capture One, and Photoshop. So instead of a new file or a flat image. You just highly refined sliders, adjustable layers, and a totally transparent process. To be that’s a huger win.

Let me know if the comments what you think is the best black and white tool.

Gavin Seim

The detail in Photoshop is almost impossible to beat. Layers and details equal more refinement. So I still take by best photos here in the end after using a RAW style editor.
Don’t be afraid to edit your black and white a little more. Whatever app you use. In the end, it’s all about shadow and contrast.
Read More

April 29, 2022

It took me 20 years to find this because no one taught it until now.

In this primer on shadow hacking I’m going to share was I found. If you follow my work you have seen me shift focus to shadow over light. Not to say ignore light, but that there so much focusing on the light has only caused us to learn half of what makes great photos.

Not signed up for my Shadow-Hackers LIVE class? Sign up it here.

Should you lift or drop shadows? Push or pull exposure. How do we bend the shadow in new ways and why doe sit matter. Today I’ll show you some examples and if you attend my Shadow Hackers hackers class you’ll be ahead of the curve for watching this.

Look for where your shadows are broken and stop photographing light.

I hope this is coming across. I promise that if you start looking to photograph shadow, it’s going to change how you use to light your camera and what kind of results you get. Try this and see for yourself.

Gavin Seim

Things I used to edit with today…
My new Elegance Speed Masks… seimeffects.com/elegance
Filmist, get my free presets… seimeffects.com/filmist/
Lumist actions… seimeffects.com/lumist
BlackRoom actions… seimeffects.com/blackroom
Natural HDR4… seimeffects.com/dynamic

Read More

April 8, 2022

In today’s video, I’m going to show you how to un-clip any photo.

Fixing a photo at this level may seem difficult at a glance but it’s actually not hard and we’re going to make short work of this. I’m going to show you what to do when NON of that is enough and you have an image so clipped that it seems like it’s useless. This is how you can fix ANY clipped photo.

If you expose well you can usually get rid of clipping and have stunning dynamic range using simple sliders, presets like Natural HDR or Filmist presets with a few of its dynamic chemical mods.

So for me there are 3 levels of clipping. Here’s why it happens and how to fix it every time.


You can also DOWNLOAD the RAW file I use in this to follow along.

You can also watch this directly on my YouTube channel.


Level 1 light clipping resolved with simple presets and adjustments like Natural HDR.


Level 2 resolved with presets and local adjustment mask


Level 3, resolved with painting back detail on PS , Affinity etc. This requires some time depending on the retail you need but it always works.

Read More