As of 2023, this is the absolute best way to get dramatic black and white I have discovered. Plus I just did a big update to my Blackroom actions (login here if you own Blackroom)
But today’s video will fill you with black and white-ness, even if you don’t use my actions.
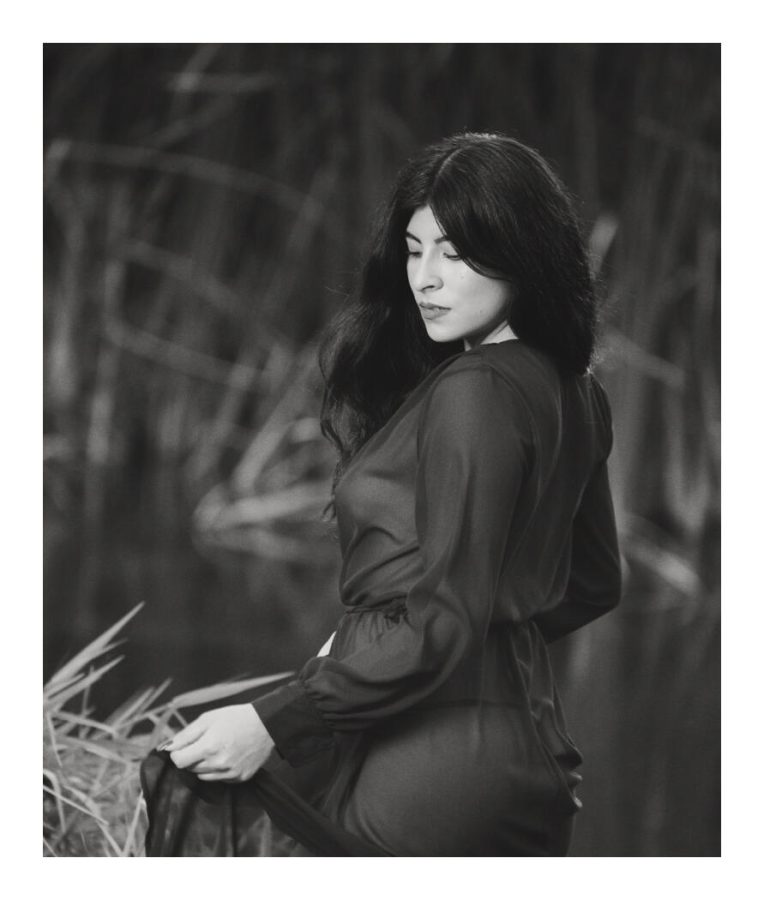
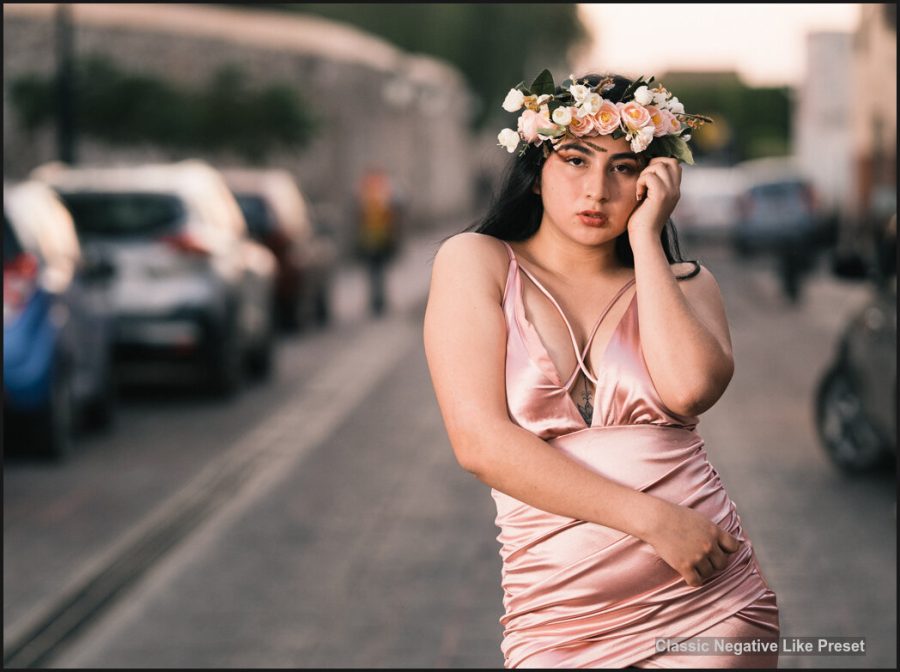
I’ll show you the best way to create black and white in Photoshop and why it;’s better than doing it only in Lightroom as we edit a landscape and a portrait. Go fullscreen and watch this one in 4k.
Improving your Dramatic black and white is about nuance.
New photographers often make the mistake of thinking that dramatic black and white is more about adding contrast. Something the opposite is true. It’s actually about using shadow correctly.
That’s why you see me in the video referencing to the Zones and thinking about where I want the tone to be placed. You control all of that.
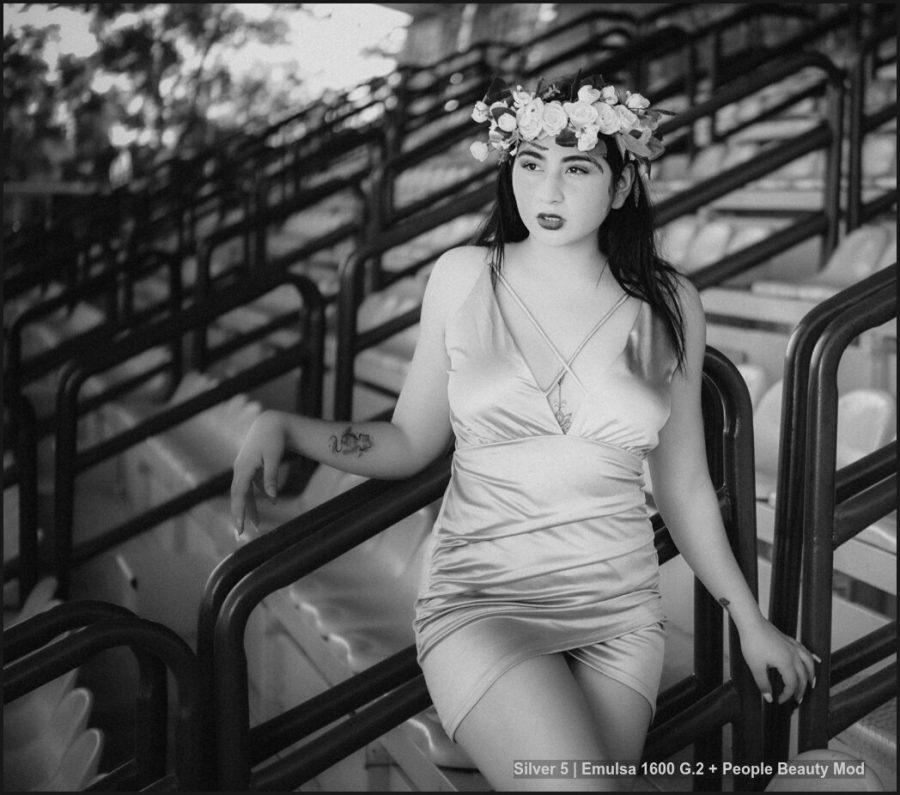
This lovely portrait edited fine in Lightroom. But in Blackroom it refined much more.
Lightroom, C1, or Photoshop for Dramatic black and white?
Both work great as you’ll see in today’s hands-on video. If you have a good editing plan they bother convert beautifully. But I’ll show you in today’s video why you will always get a bit more if you finish in Photoshop, even if you started out in Lightroom or Capture One (which is what I do).
In the end, you can do all of this manually, create your own tools, presets, actions etc if you are really experienced, or use tools like my Silver presets and Blackroom actions.
The main thing is to try the methods I showed you today and your dramatic black and white photos will touch the sky sell more and win competitions. Really.
That is the power of the dramatic black and white. Let me know what you think.
Gavin Seim
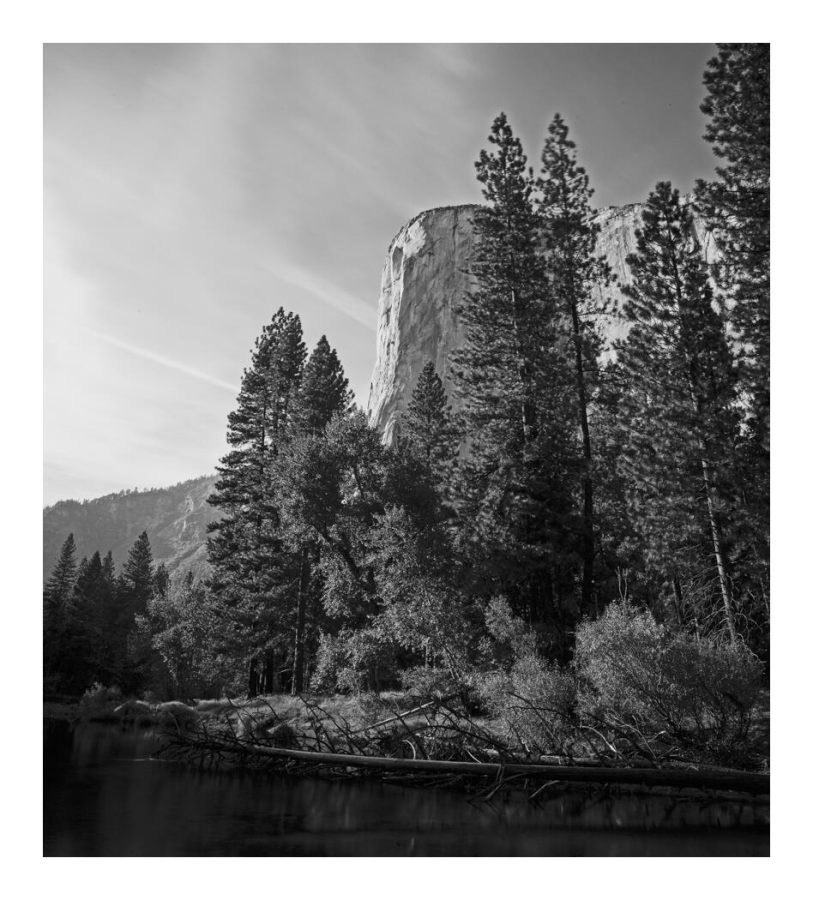
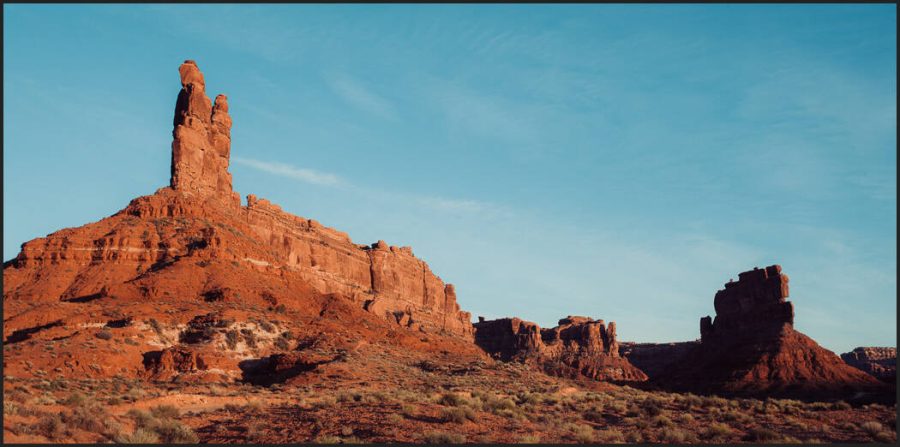
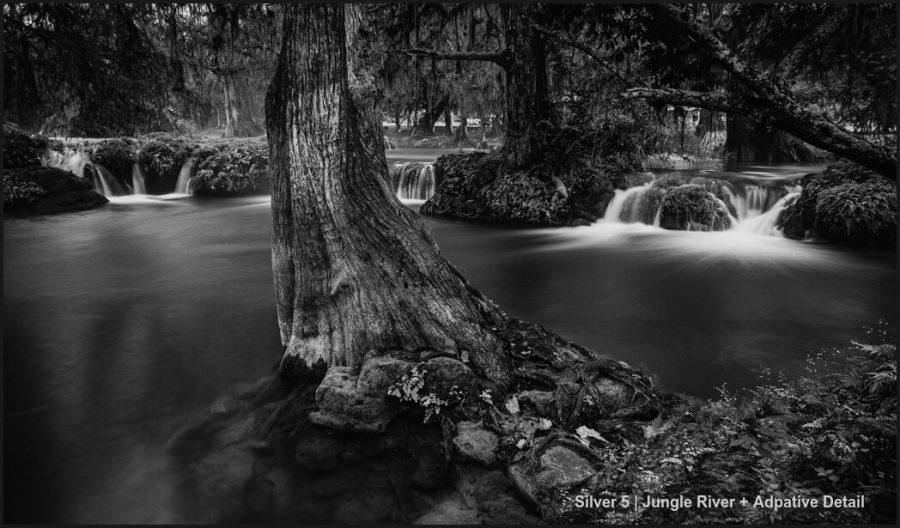
Using a gradient map and layers in PS I had more control in this photo from Yosemite National Park
It took me years to learn that consistency, style, and editing speed are directly linked. Many new photographers think editing slower means a better edit. In general, the opposite is true!
1. Why Speed_Mods improve your photography style and speed.
I’ve shown you how editing mods create a better editing result and speed in Lightroom and Capture One. Today I will break down how they are made and how to use them better.
Like Speed-Masking in Lightroom, Speed_Mods are included in my preset packs and you can make your own. They let you take any recipe and make it your own but without wasting a second. So, lets not waste any seconds and jump right into todays video.
2. Your style starts with consistency!
I know firsthand that finding a style can take time and that you sometimes can’t seem to decide. Part of the issue is that we have SO MANY EDITING OPTIONS that we lose focus.
It’s not wrong to have various flavors in your photos. But your style can be defined not only by how you shoot, but also by the nuance of your edit. Most overthink this, so they are always searching. But your recipes combined with Speed_Mods will help you stay the course, and your style will shine through every time.
When you create or use presets in Lightroom, the goal is not to create the same photo as everyone else. Just like when you shot Portra 160, it did not mean your photos were meant to look like the rest of the world.
Things like this Xpan 65×24 crop can help you define your style. And film edits and mods do the same.
3. Recipes are like your Film, Mods are like your chemicals.
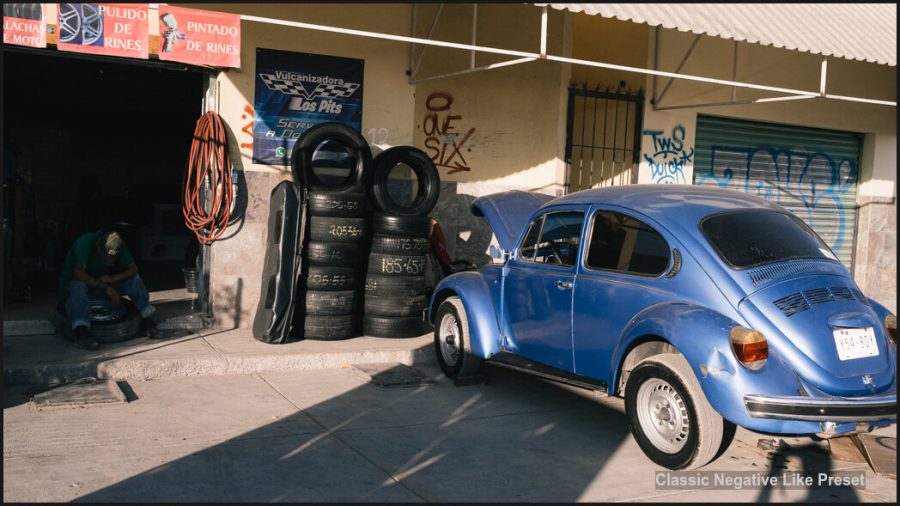
If you use Filmist and add Porta or Ekrar or Classic Negative, those looks are a base recipe that has been proven to work millions of times.
Buy using a recipe (like choosing a film) you create a aesthetic, but just like in the darkroom we could then shift shadows, tones and details by how we developed, not you can adjust that recipe to your liking.
Of course going straight to granular sliders is fine. But say I apply Silver 5 wet plate look like I did in the video and I want a more HDR feel. I can go and play with sliders of I can simply apply the HDR mod from mod-kit presets. The speed-Mod gives me a refined process based on testing and I am done in a moment.
Professional software is about being able to find your creative edge and your style. Just like for 20 years we’ve used Actions in Photoshop, the RAW editing apps made for pros will always have tools like presets and styles to let us create more and faster.
In the viddeo we see how this photo started as a bit of a dud. But we found the style in it that fit with my theme by having the right mods recipes.
4. Photographers who know their own style!
I can’t tell you the amount of times I’ve seen people say. Don’t use presets, don’t buy presets, make your own style. It’s like saying, find a harder way and use that instead. Pros want all the tools at their command.
There’s nothing wrong with making your own presets and styles like I show you in this video how to plan your own Speed_mod presets. Just don’t put up walls to your creality.
I’ve spent hundreds of hours refining packs like Silver, Natural HDR and Filmist. (all of these have free packs) Why? Because once a work is built, it can be used again and again and I don’t have to waste those hours to maintain the creative style I use with those presets and a few mods.
Recipes and mods combined like this will elevate your editing speed and style, and I hope you’ll give it a try and tell me in the comments what you think.
Gavin Seim
Mods like Speed Masks that I use in Elegance 4 let me use advanced tools fast and try them, that means I try more things to get the look I was going for. Speed, recipes and good mods means a more focused edit, not a generic edit.Many mods can work. By finding a recipe I like this bold warm Gold-Chrome look, I can then mod to make the style fit my visualization . Staying consistent and strong in my shadows and presentation.
Ektar 100 is a classic among films. So I made a film preset.
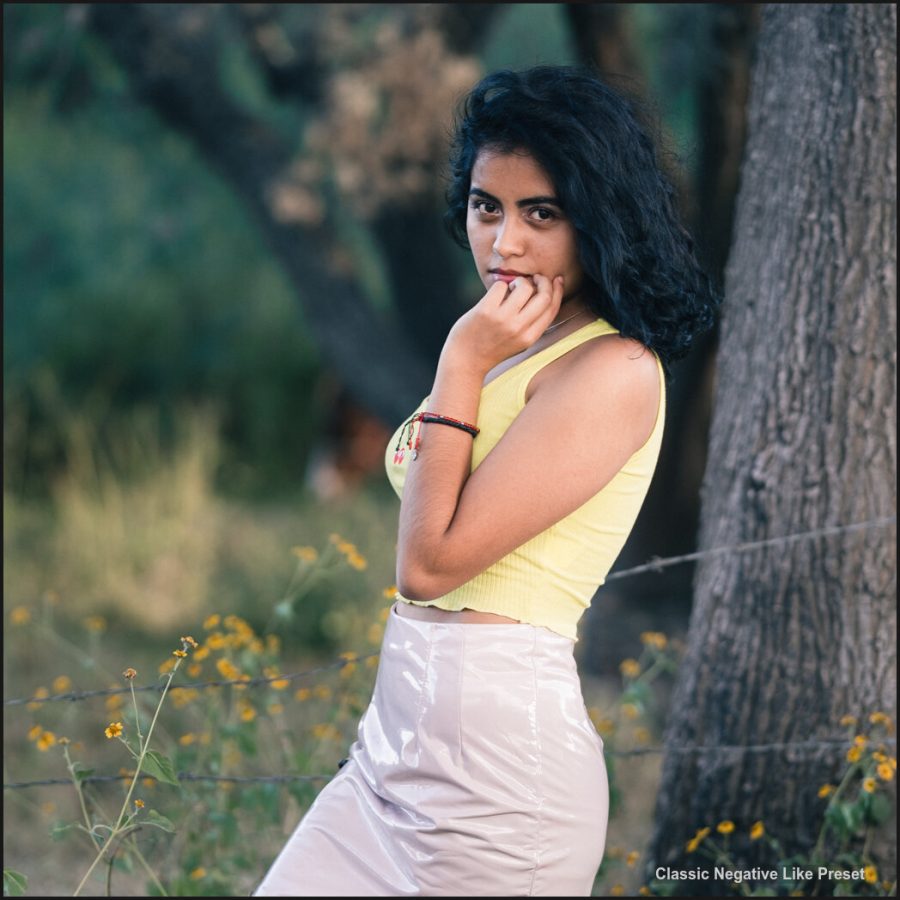
It’s considered great for landscapes and street work and it’s one of the few films still available in 2023. But those who know it well, also love it for portraits. Lots of prestes have been called Ektar inspired. Today I’ll show you the essentials of this recipe of my authentic and detailed Ektar 100 preset.
Get this film preset in my Filmist pack. Or make your own based on what I show in the video. You can get Classic Negative and Portra 160 presets in my FREE Filmist Sampler Here.
Why Ektar over Portra or Fuji Film preset recipes?
The first version of the Ektar 100 presets I made for the Filmist film presets pack was good. But it was now perfect and may not have been your go-to like the Portra Gen.2 presets. When I want something a bit more robust than Porta, Finer than Natura 1600, and more complex than film presets like Classic Chrome, I’ll be going to Ektar.
Rather than being designed for people like Portra, Ektar is more of an all-use film. But despite its rich reds, it makes great portraits, streets, and landscapes all in one film.
Here’s How I made the Ektar 100 like Gen2
Kodaks Ektar has come in various versions, but the most famous and still made is Ektar 100. It’s not an easy look to replicate digitally, but it has complex color magic that is great. Most of the Ektar variants are no longer available, but you still can buy the 2000’s era Ektar 100 version.
So in Filmist v1.8 I went back to the basics. As I show in the recipe overview in the video, it’s mostly about ultra-detailed curves and HSL. I’ve shot Ektar myself in my 4×5 work so I am familiar with its deep colors and often slightly red tint. But the secret to really getting a digital film look right is to refine it tirelessly until it works on all image types.
I researched deeper and watched reviews on the film, and how different people use and process it. How each process works differently to get slight variants. Then you combine all that to make the look really good.
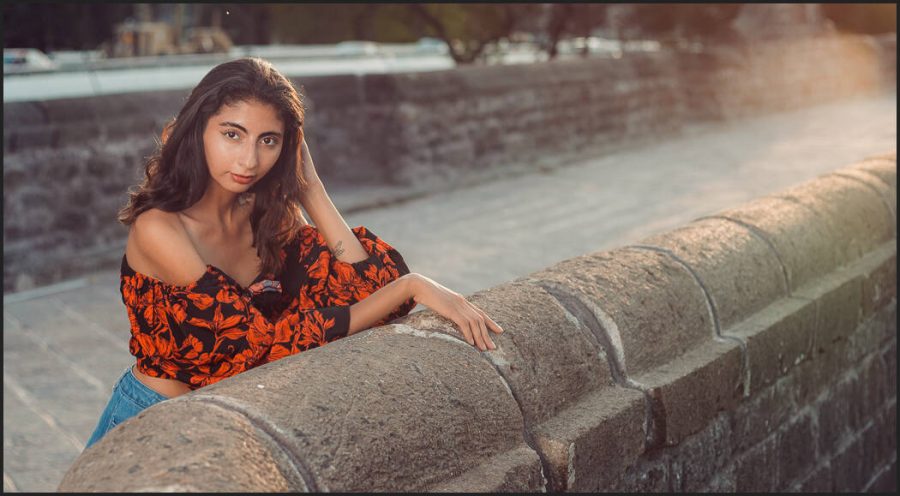
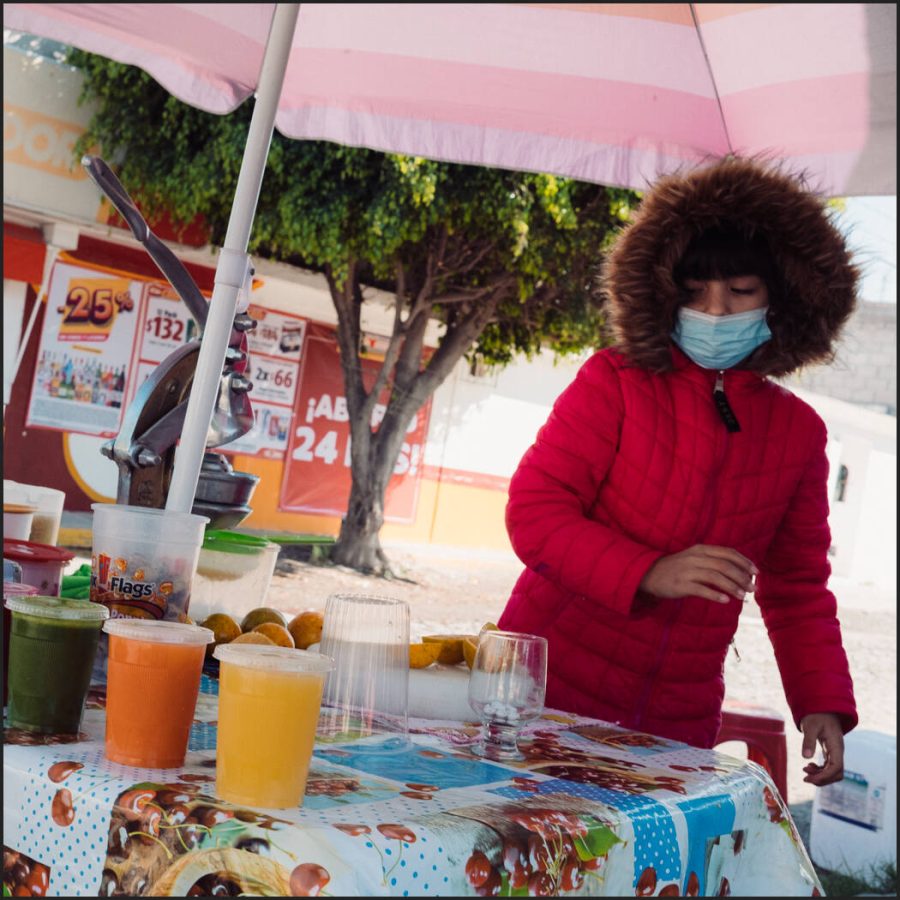
The warm skin tones in Ektar 100 look great if processed well and that reflects in the presets simulation of the film.
What goes a Gen.2 Film Simulation Preset Mean?
Most companies make presets, you buy them and that’s what you get. But I keep refining and updating them and in Filmist I’ve spent hundreds of hours creating free updates since it launched.
Every Gen.2 film preset I make takes more hours of tinkering and study to make that film look perfect on digitally. In Filmist 1.8 I finished the Gen.2 versions of Classic Chrome and Classic Negative presets as well as vastly improved the color nuances of these popular fuji profiles. More on that in this post.
But Ektar 100 is about making the presets for Lightroom and Capture One represent the actual chemical film in every use case. And it’s fantastic. This new version is so much more subtle, and you’ll find that whether you’re shooting the streets of glamorous portraits, it has that natural fine-grain film feel with deep reds and nuanced color gradients. It’s a true Gen.2 film preset and will quickly become a go-to.
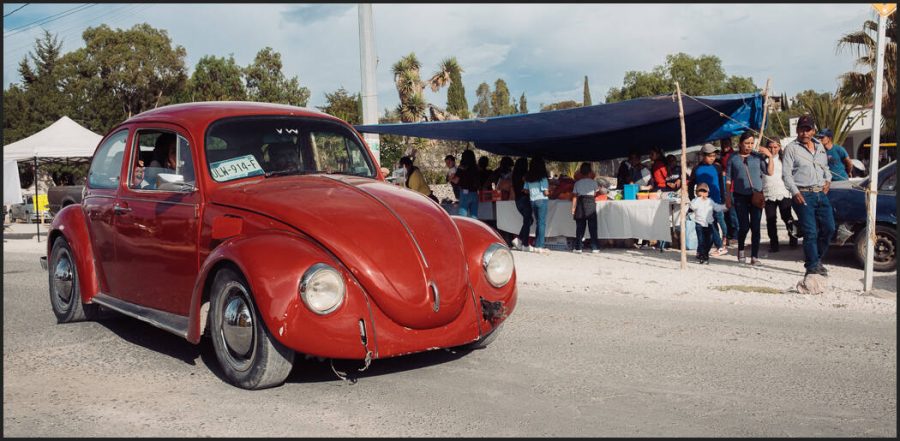
The ways reds and blues are rendered is distinct in the Ektar film look presets but it looks amazing in most scenes.
Why should you be using Film simulations as your editing baseline?
I make a lot of good presets, like Silver black and white and PowerFlow presets and more. Then there are actions. You may have those or you’ve made your own.
The film is something special. Using film presets as a baseline for color and black-and-white edits make you see color and shadow. It will make your editing more subtle and you’ll see the nuance that gentle changes make.
Try the Ektar film preset or make your own from the recipe essentials that I show in the video. There are different ways to interpret this film look as a preset, but I this this Ektar 100 like Gen.2 really conveys it well. If you still shoot film, go shoot a roll and tell me how you think this rates.
Thanks for coming and keep shooting – Gavin Seim
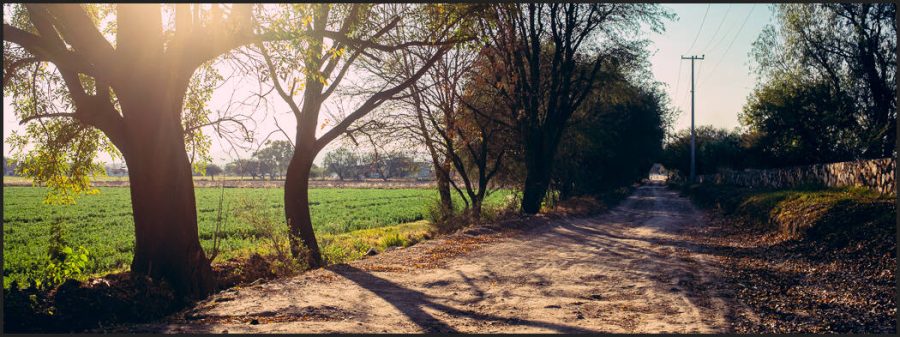
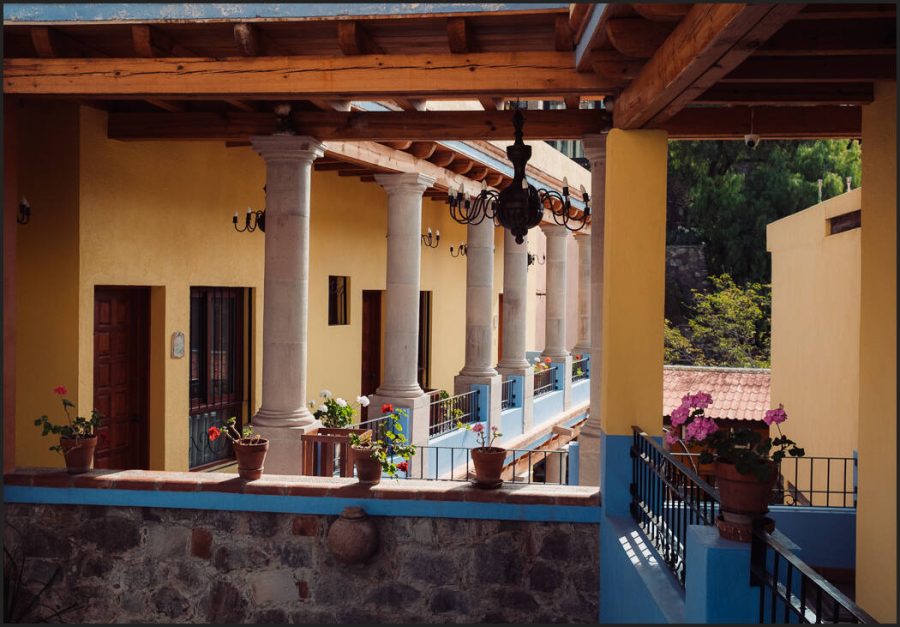
Complex shadow definition, fine grain and color nuance make this film a favorite and I worked overtime to re-create that aesthetic.This film preset give a magical undertone that makes ordinary scenes come alive. Film is good at that.Subline reds are a distinct thing about the Ektar 100 feel, but they way they mix with blues in Lightroom and Capture one is great.Like Fujis Classic film looks, Portra and Natura, Ektar Like Gen.2 will be a go-to film preset that you will come back to all the timer.
Classic Negative and Classic Chrome are two very popular color profiles on Fuji cameras. It seems Fuji is the only camera maker who has managed to make its in-camera profiles iconic. That’s because they create their camera profiles from Film. The problem is they only work on some cameras
Filmic presets are the solution.
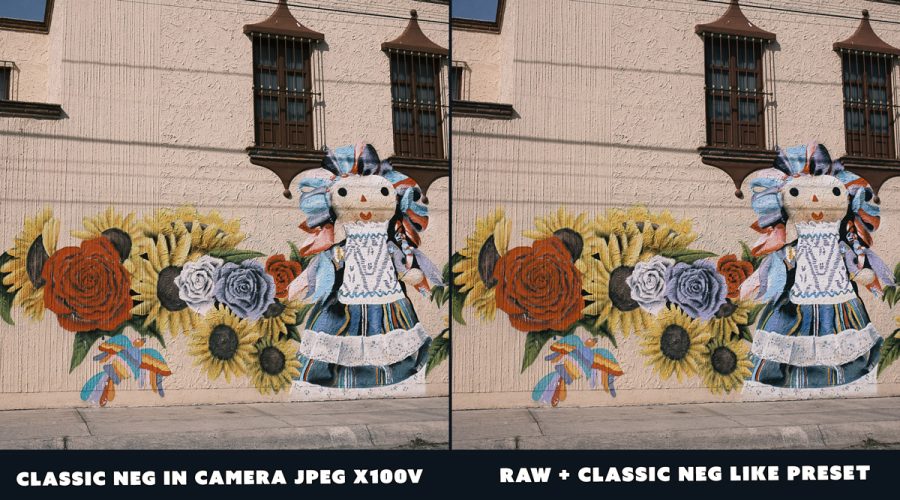
The Gen.2 Classic Negative Like presets have been refined a lot since my first version a few years ago giving you the JPEG-like colors with the RAW advantages in post.
I just finished Filmist V1.8 with new Gen. 2 versions of my Classic negative-like and Classic Chrom-like presets, as well as Ektar Gen2 (I made a post about that here) With nearly 5 years of development, Filmist has become a king of great filmic presets, and I’m super proud of it.
I’ve been making master preset packs since Lightroom launched. But the hardest to create are my Capture One and Lightroom film presets, Filmist. Presets like PowerFlow and Natural HDR and great. But the film does something magical for digital.
IN it I’ve included the improved Gen.2 version of Classic Negative like for you Fuji lovers, PLUS a few other film presets to get you started. The improved Classic Chrome and Ektar presets are included in Filmist complete.
I love Filmic presets. Here’s why they work so well.
Overdriving sliders in an edit is a very common problem. More is not more in a great photo. That, I believe, is why people like these Fuji camera profiles—they are subtle.
It’s silly, but it hurts a little when my customers reject my recommendation to try Filmist as their next pack. I know they are missing out. I love film presets because when you shoot real film or edit with good film presets, it changes the way you create photos.
Things that were once boring become atmospheric and feel more real. It helps you gain perspective on every other process because film will always have an organic look.
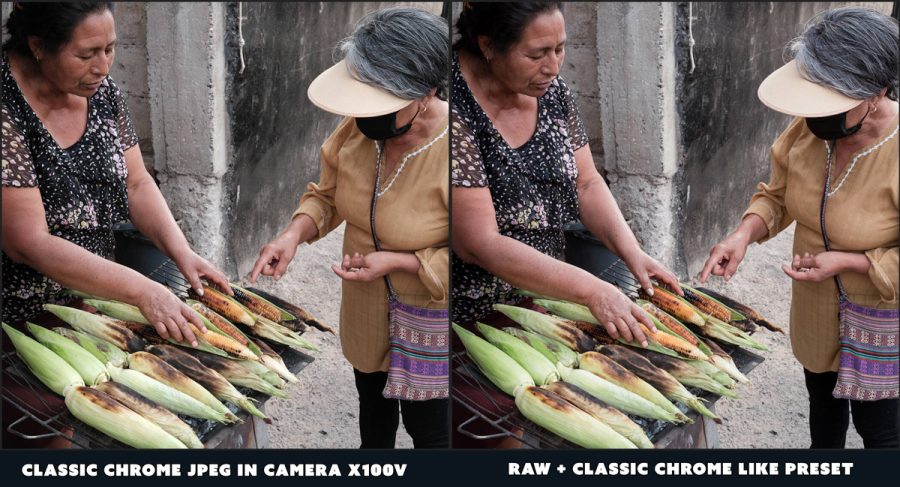
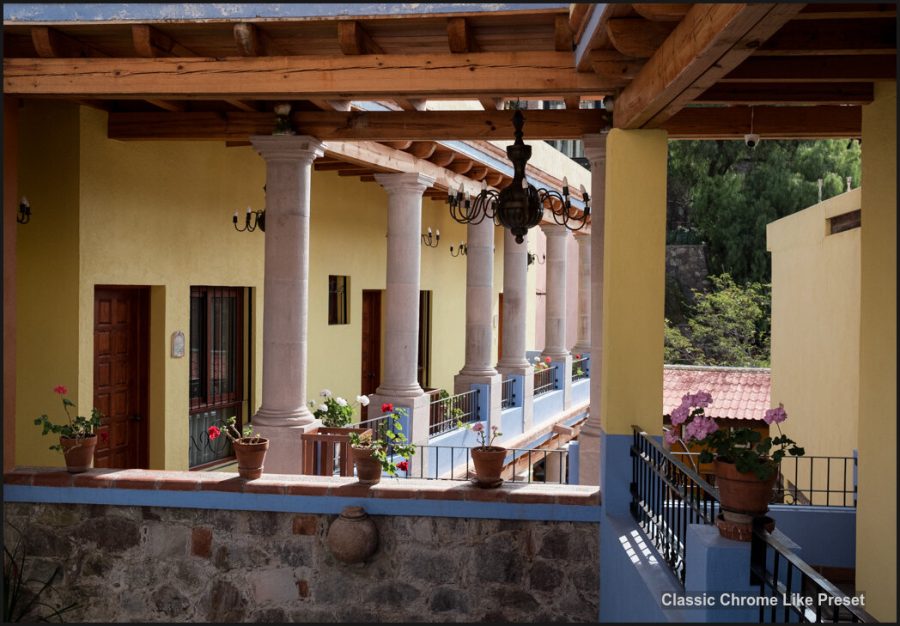
The JPEG Classic Chrom from my Fuji V100V next to the RAW file processed with the presets only. This looks was especially hard to re-create on RAW, but now that I have it I can use it on files from any camera.
I also love Fuji cameras and they have great profiles like Classic Chrome. But I don’t use them much. I nearly always apply the looks with a preset and not a baked-in look because it gives more control. Plus you can use filmic presets on any camera or even video thanks to LUTS.
PS: If you want to create your own Classic Chrome preset for free, you can watch the video I made on the Gen 1 recipe here to get a good starting point.
Filmist 1.8 brings better C1 and Lightroom Film Presets!
In today’s post, I’ll share a variety of photos processed with these Capture One and Lightroom Film presets. Everything comes from my newly updated V1.8 and nearly world-famous “like” versions of these recipes as presets for any camera.
1.8 also has the new Gen 2 of the Ektar 100 which is a really great film. I’ll write more about that in another post. All these looks come thanks to many test images from the long hours, so they are more accurate than ever. The updated version includes the Lightroom Presets, the Capture One Styles, and the video LUTS.
You can also download the Filmist sampler again for the 1.8 version. If you own FIlmist Complete, this is a free update, and you can get your account for the latest install.
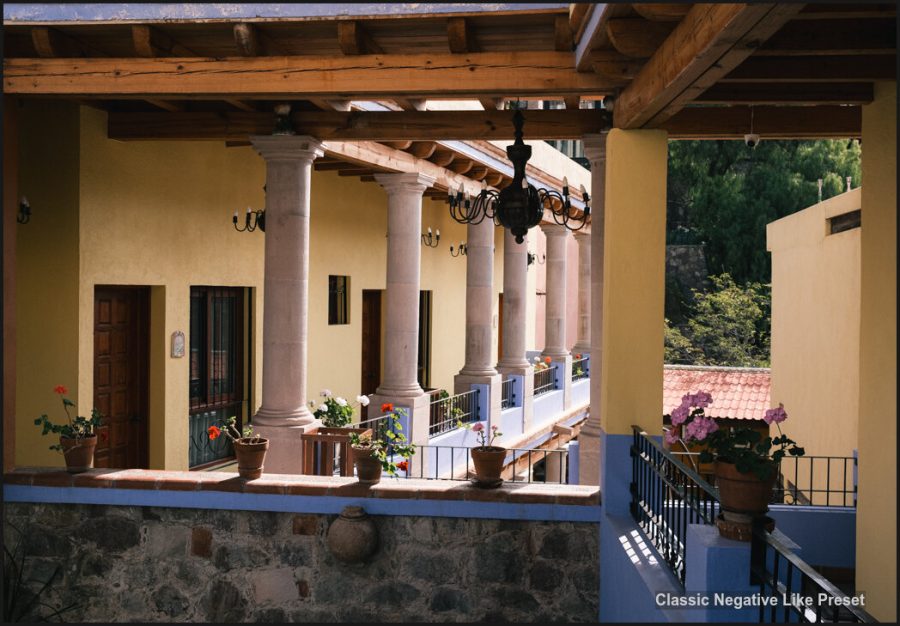
Classic Chrome Like, RAW File with presetClassic Negative Like, RAW file with preset
A Classic Negative vs Classic Chrome Profile Review
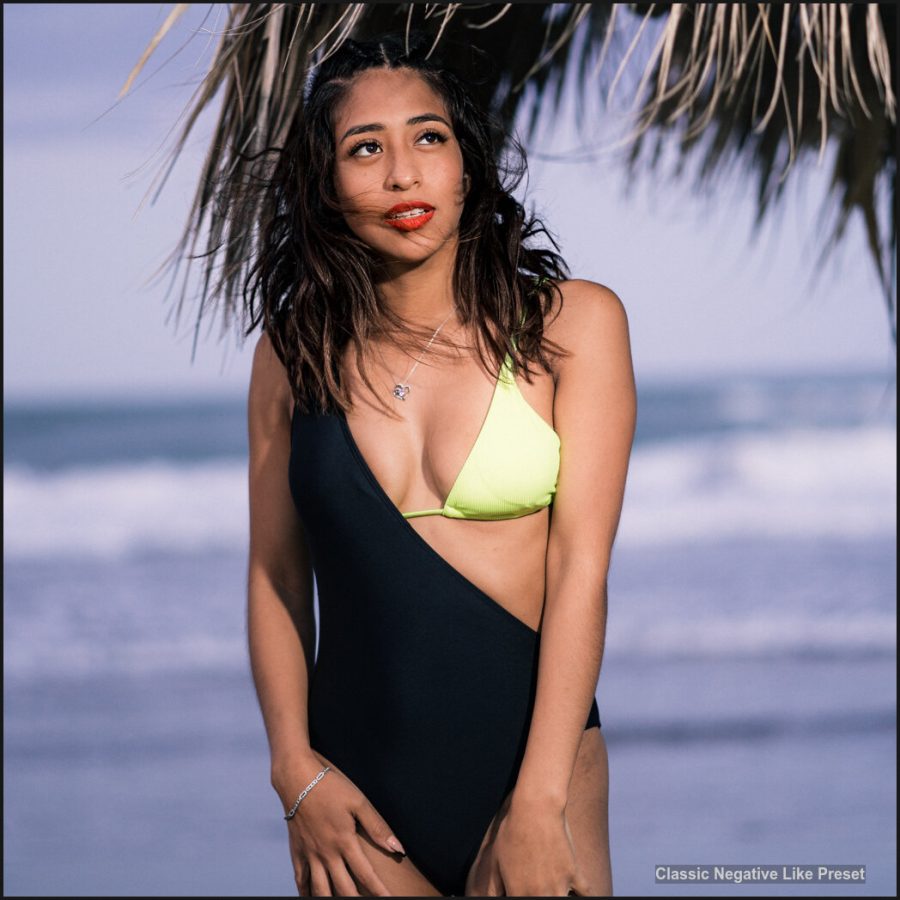
Classic Negative – is a bit deeper and more intense. It has subdued colors but is more contrasty. It’s well-loved for streets for that reason, though usually, it’s not my favorite for portraits. Turn up the exposure a little on portraits to make it smoother.
Loosely based on Superia 200 and Classic Chrome is very loosely based on Kodachrome. I talked about that in this video.
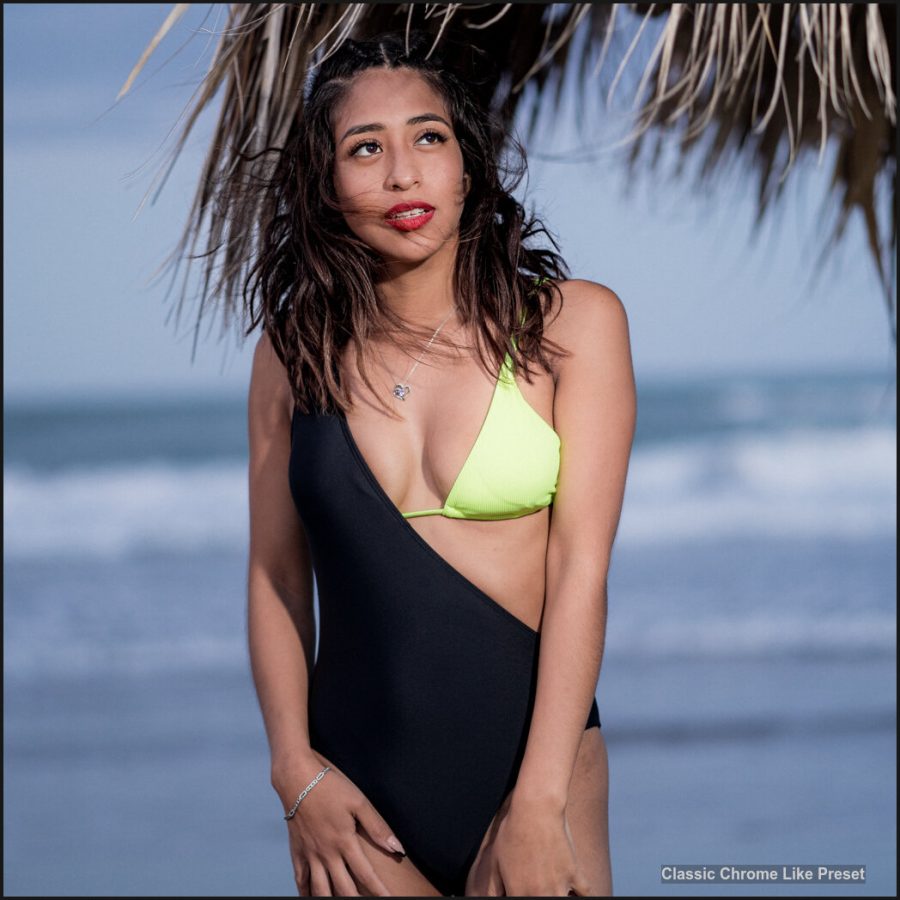
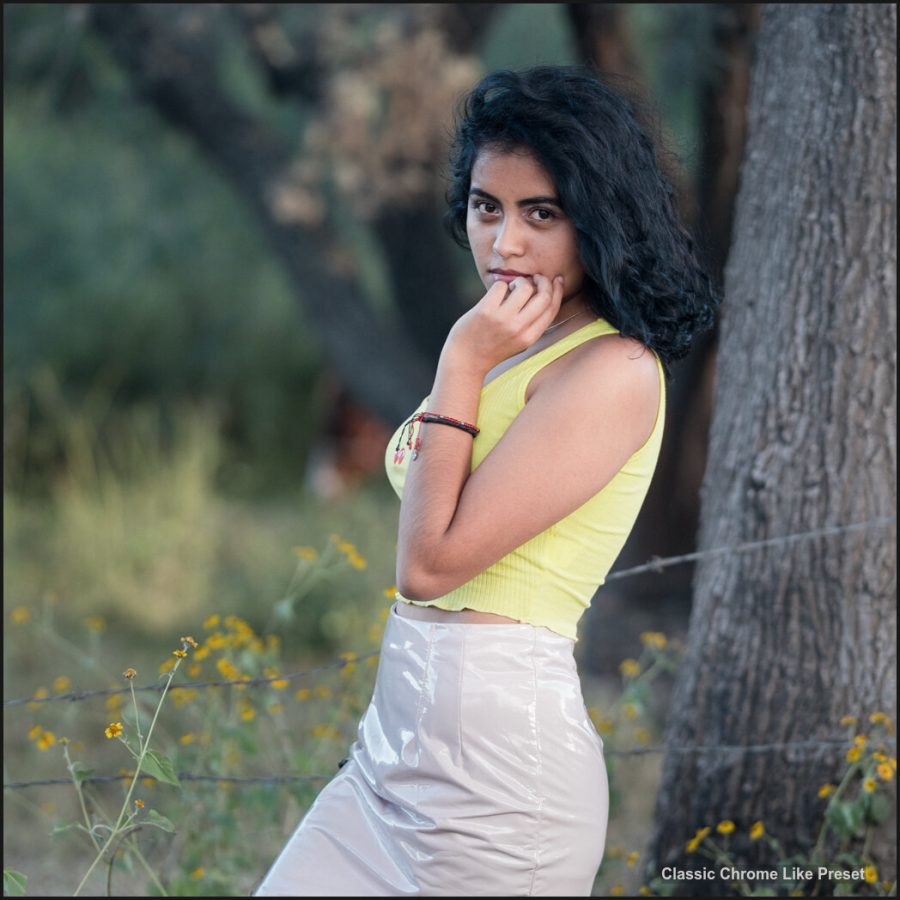
Classic Chrome – is soft and gentle and sometimes you may need a bit more if your light is not contrasty. But it’s versatile.
While Classic Negative has an almost soft color look, classic Chrome is a bit brighter and more slide film-like, even though it’s not actually that close to the Kodachrome film it was inspired by.
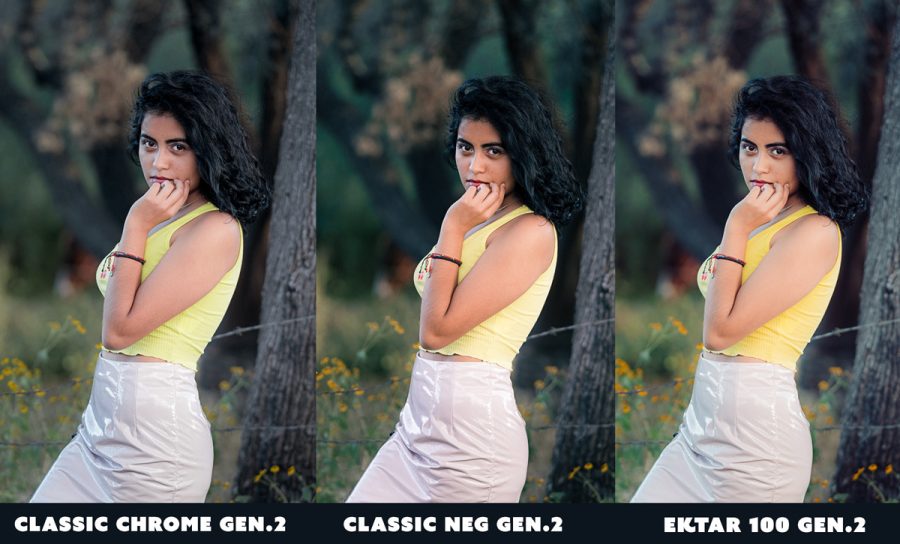
Both produce great results and both can feel very natural. But if you look at these examples you can see how each has its own character. All these examples were done with the presets, which means camera type is not a barrier.
Film presets should be made with extensive testing to work well.
I do extensive homework for every film I make. In fact, making Gen.2 of these was hard because they were already good. I had to spend hours refining fine details in Lightroom and Capture One, and that’s the most tedious part.
When I shoot with Fuji cameras, I use both of these profiles. But in the post, I always take the RAW file and use the presets. Yes even before the built-in fuji-specific RAW profiles for better dynamic range and more accuracy.
It’s important that we can apply these looks to any file, any camera, old or new. Not just the latest model. Because when editing a project, you need consistency, not looks that are all over the map. If I shot part of a project on Fuji and another part on Sony or Canon, I want to be able to edit them with the same feel.
Presets make it easy and turn a recipe that requires dozens of hours to create into a single click. All while leaving you in control. By using presets on Raw instead of baked-in JPEGS, I get smoother highlight roll-off, I can increase or decrease the effect, and I can change my mind later.
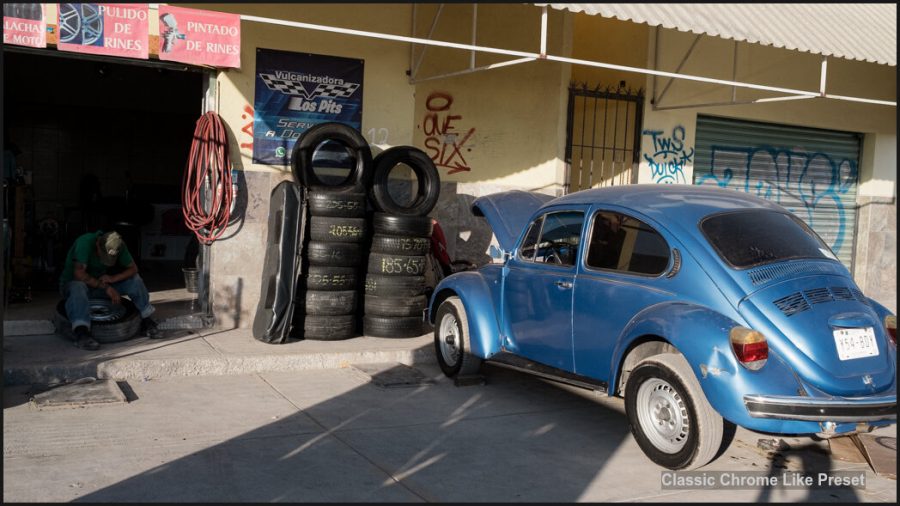
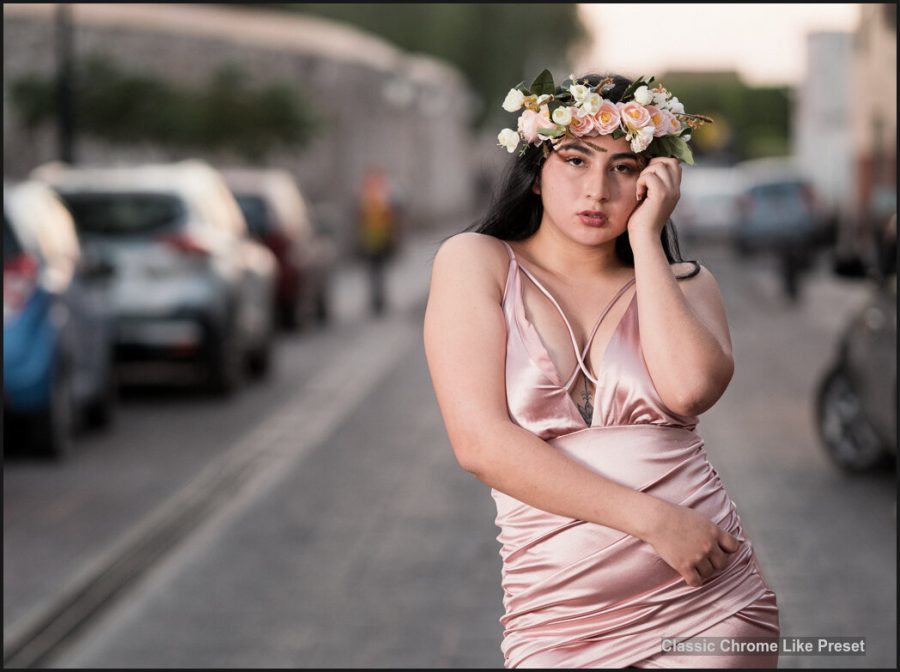
The Classic Chrome-like presets on a SONY Raw FileClassic Neg-like presets on a SONY Raw File
Film presets solve a problem.
I made Filmist so we could better bring the darkroom to digital. Before, we had a limited number of films but a nearly infinite number of ways to develop them back in the day. Most are gone now. Today we have many ways to develop with a simple slider and while under-editing creates boring photos that lack atmosphere, over-driving a slider can take a great photo and make it bad instantly.
Film has an organic shadow-rich look. So Wwen you start editing with film presets you get more than just tinkering with sliders. Yes, you save time, but you try things and see things. Colors, shadows, various kinds of reds, and nuances can take a rather plain photo and make it seem like something from the pages of National Geographic. Color, Silver mix, and shadows matter.
You can see in just the Classic Negative and Classic Chrome looks that while the processes are not that intense, they are distinct and when you learn to make the destination or the nuances you become a better photographer and editor. Film makes that process a whole lot easier because it’s backed by hundreds of years of chemical processes and research into what makes our eyes respond to shadow and light.
Below are a few more examples of these modern film-inspired look
Gavin Seim
Fuji RAW File, Classic Chrome Like Lightroom FIlm PresetFuji RAW File, Classic Neg Like Lightroom Film PresetI’ve dialed the looks in for as Lightroom Presets and Capture One StylesIN Both LR and C1, Classic negative is a bit moodier and with less saturated tones.
RAW Portrait Classic Chrome LikeRAW POrtrait Classic Negative Like
It’s been a few years since we’ve seen a fully new version of my black-and-white presets. I do minor free updates all the time. But I like to wait till the features and tools of Lightroom and Capture One improve for these big rebuilds.
Silver 5 makes next-generation Silver editing simple using native RTAW tools and black and white presets.
There are a lot of new things in these presets. They take advantage of Lightroom Ai layers and while Capture One still does not have Ai tools, Silver 5 is using every ounce of update that Capture One has brought us with layers and better one-click black-and-white conversions.
I’m excited about these new presets for black and white and I made a pretty fun video to share what I was thinking and what’s new in Silver 5.
Black and white preset are about the details. And that’s what Silver does makes it easier than any other tool. By using native tools instead of plugins, Silver 5 can leverage all the power of these apps but you don’t have to spend a lot of time tinkering.
Choose your black and white presets for the main look. Then mod them with the new Mod-Kit…
The mods are now a simple separate preset pack, so they don’t clutter up the main set. Whether it’s the Lightroom Presets, Capture Styles or working in Camera RAW. Just select your presets for black and white a lot like choosing a film.
Then you can mod it in a mod kit with adaptive detail tools. Grains, contract mods, and even Ai portrait tools. Of course, you can take mods further with packs like Elegance Speed-Masks but you’ll find that Mod-Kit has a little of everything so you can quickly get your edit right.
Presets and styles for black and white let you work better.
If you’re not using presets, you’re editing is suffering. It’s about being able to finish the look you visualized by quickly trying mixed that would otherwise never be tried. It’s the secret that nearly everyone professional knows and those trying to show off at photo club pretend are cheating.
My edits always stars with Lightroom Presets or Capture on styles because I know I will get a better result by mixing things in various ways to find the look I want. Don’t let snobs shame for you using good tools. Even if you make your own presets, make sure you have them ready and refined and that you are using them.
I’ll be doing a training video soon on how to use Silver 5 black and white presets to get the best edits in Lightroom or Capture One. Future updates to V5 will be bringing more improvements to Mod-Kit and these recipes for great black and white that I’ve spent a lot of years refining.