Most viral photos you see now are Ai AI-generated FAKES. And the more you comment and say it’s fake, the more the algorithm rewards them. There’s no point in pretending. So how does Cinematic Technique help us win?
Use cinematic technique naturally while editing and WOW!
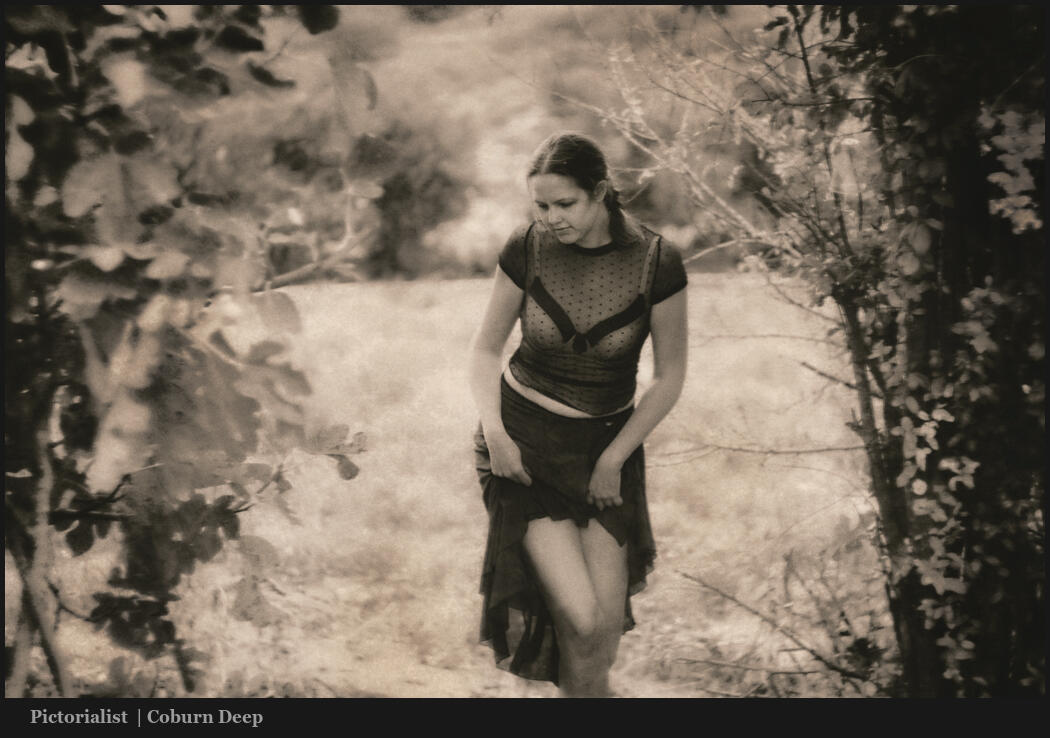
Get more cinematic faster with my Pictorialist action kit or tools like Alchemist.
Cinematic photography techniques beat out Ai fakery…
Studying pictorialism helped me see that all this fake Ai photography has no emotion. We win when we stop thinking sterile and boring. If we to discover cinematic techniques with true feeling.
AI is here. You need to re-wire your photography process if you want to survive.
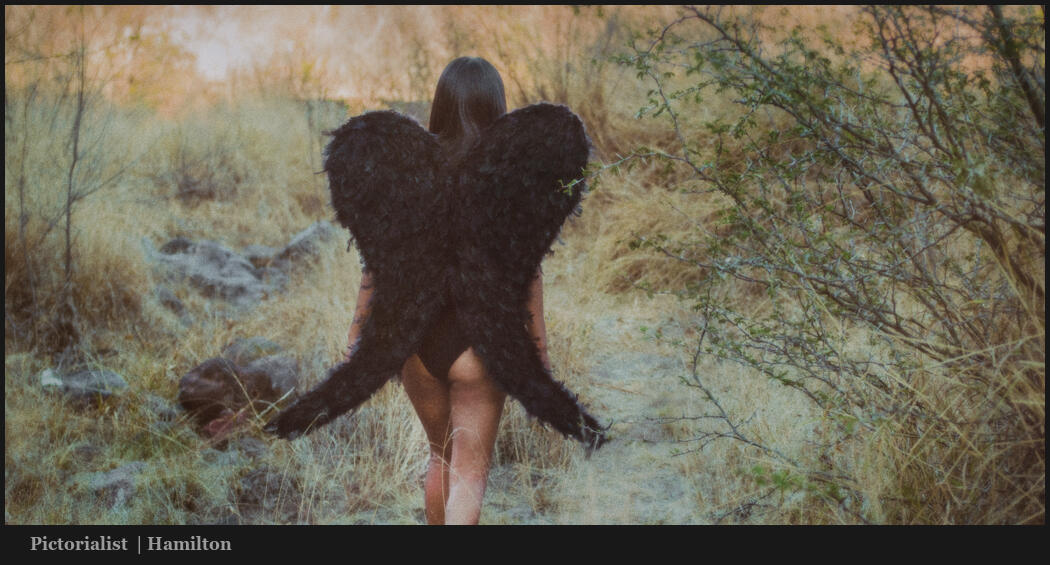
Cinematic photography. Feeling and emotions. Think about when you watch a great movie or see a show. You don’t want perfect sterile blandness. You want to feel emotion and life!
The feeds are full of Ai fakery because compared to plain boring photos they seem incredible and people don’t know. How do we complete impossible scenes that blow people’s minds? But creating more emotional photos in camera and in post.
You need to Re-Wire your process for Cinematic photography
I would love to say. hey use my Pictrialist actions, my Filmist presets, Emulsion etc and you will always have amazing cinematic photography.
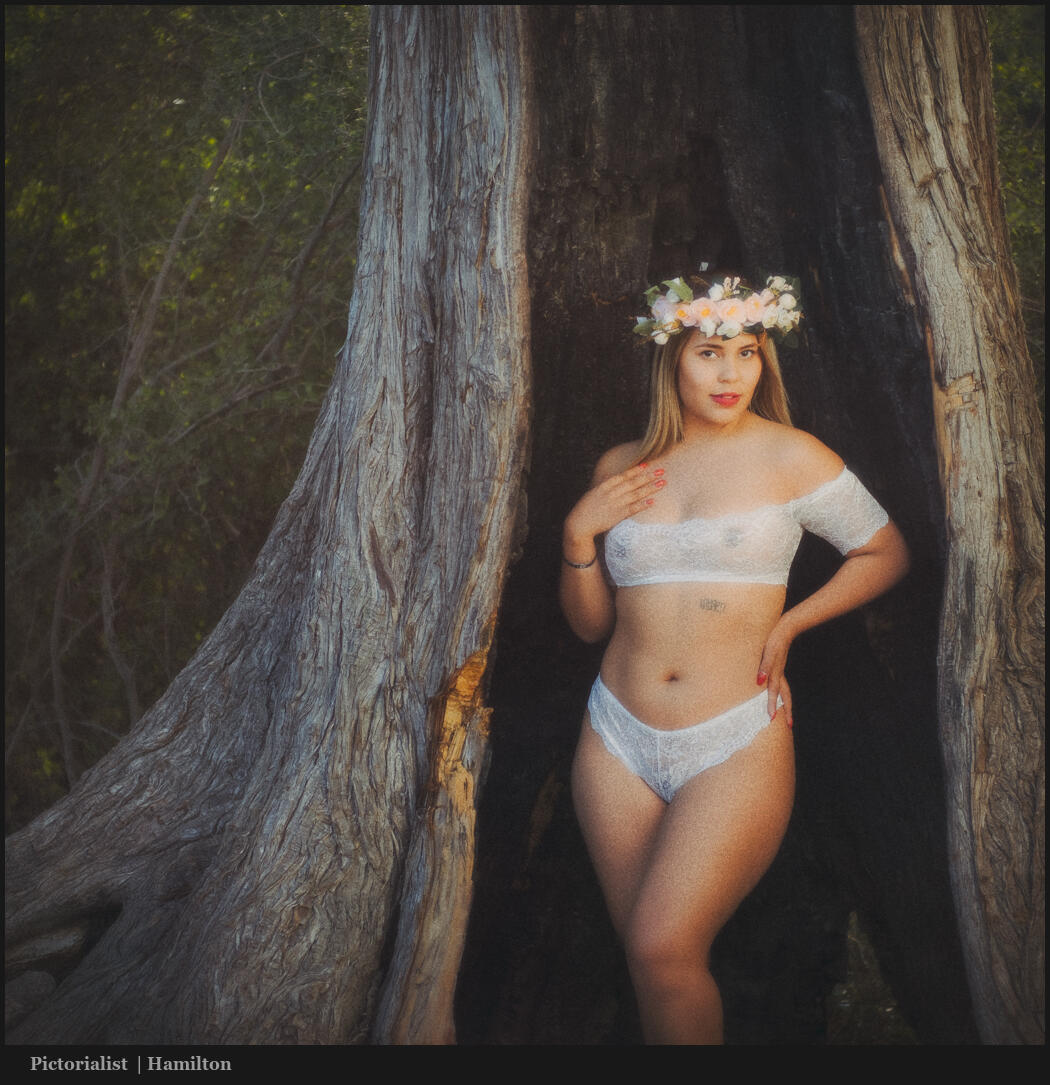
But I don’t make these tools to fake it. As I showed you in the video by re-wiring your editing process you will discover the emotion you already felt taking a photo. And you should feel something.
This starts in the camera. You can go back and edit with pictorialism and cinematic photography in mind and vastly improve past photos. But when you start planning for it in Camera, everything goes to 110%

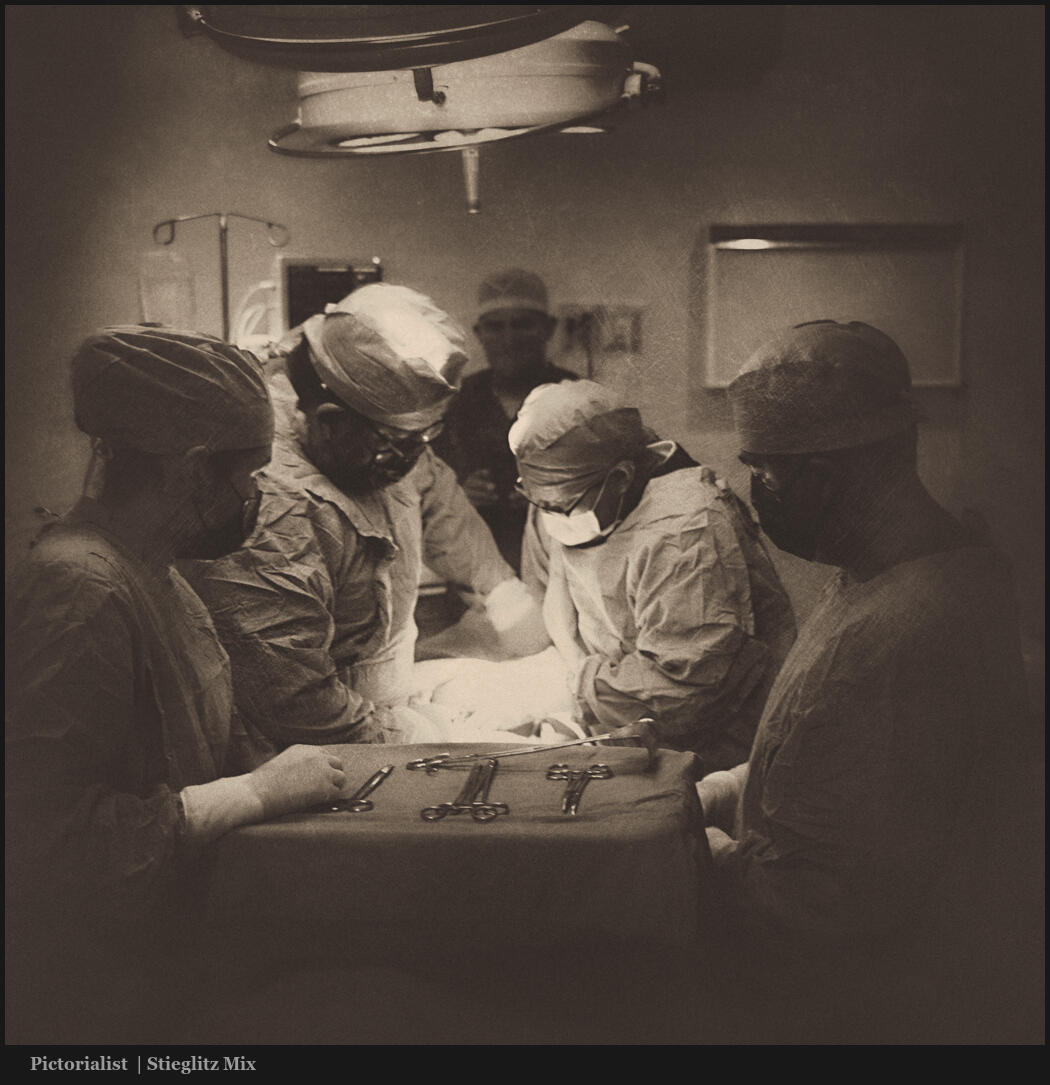
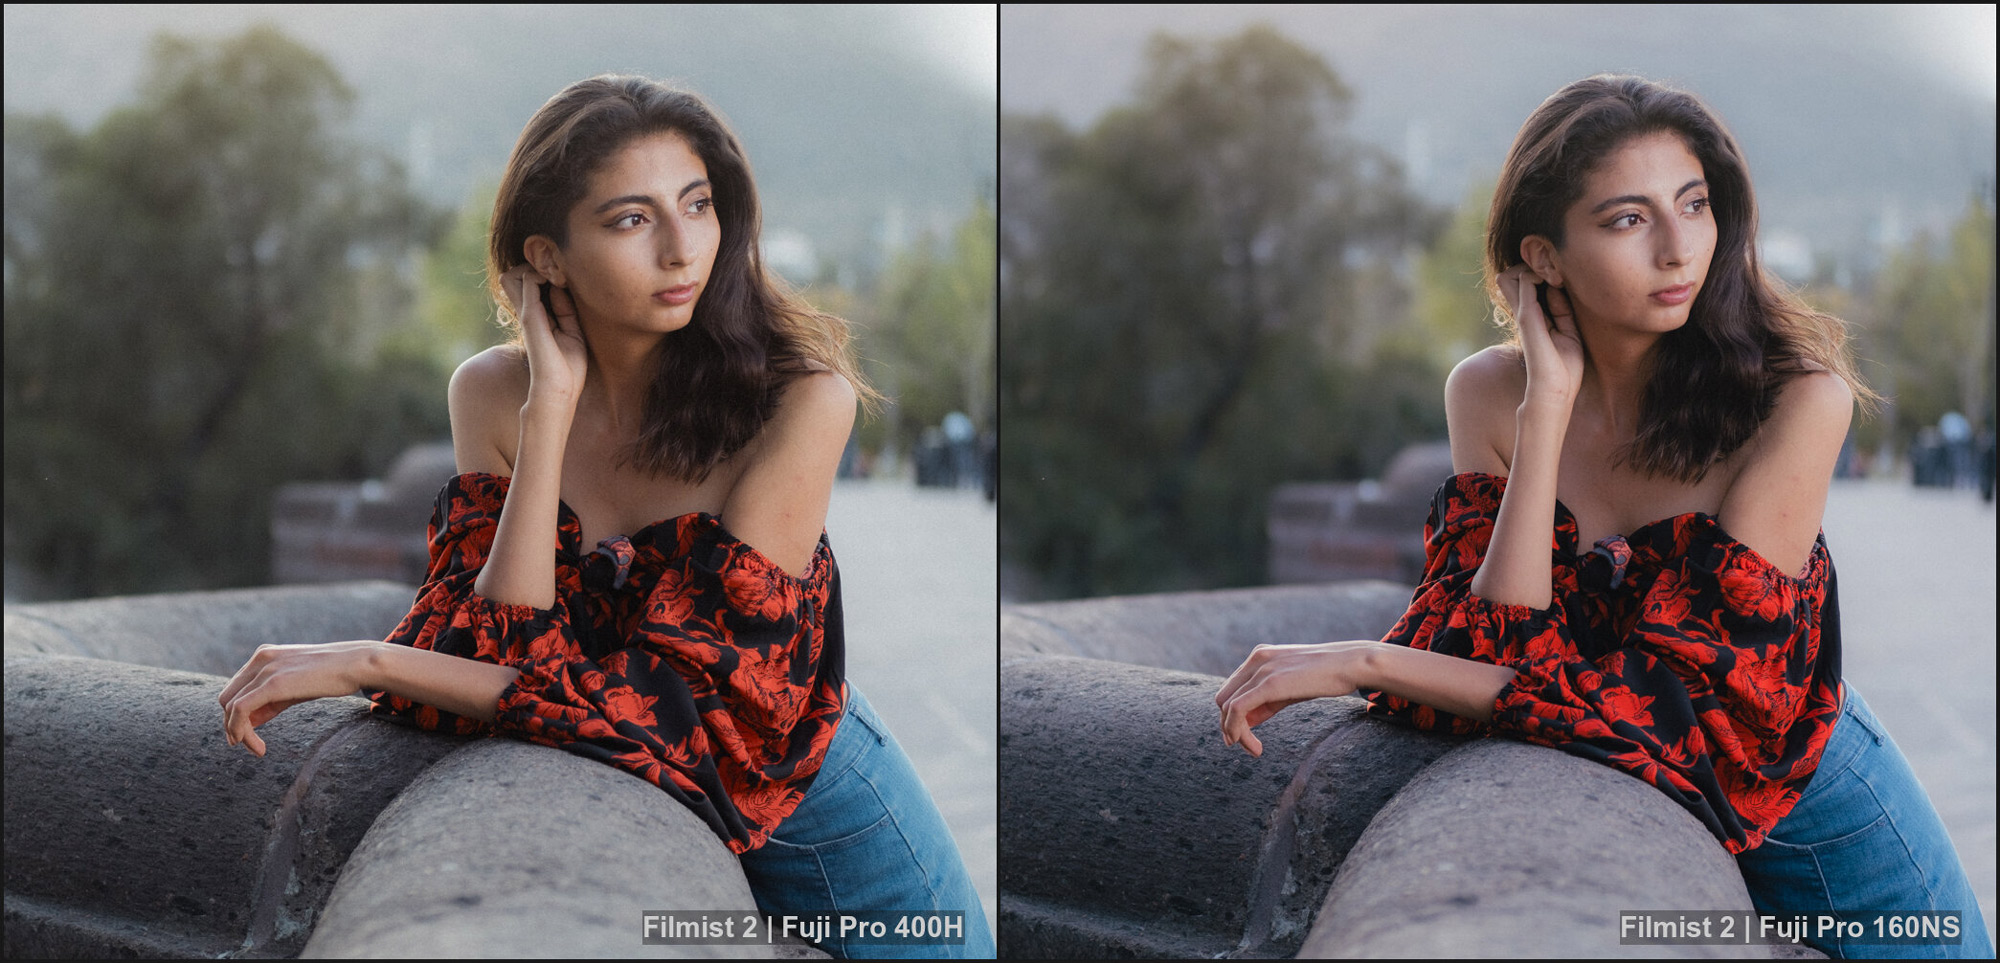
Detail VS Atmosphere in Cinematic Technique
A dramatic photo means in the camera and in the edit. Cinematic Technique give you that.
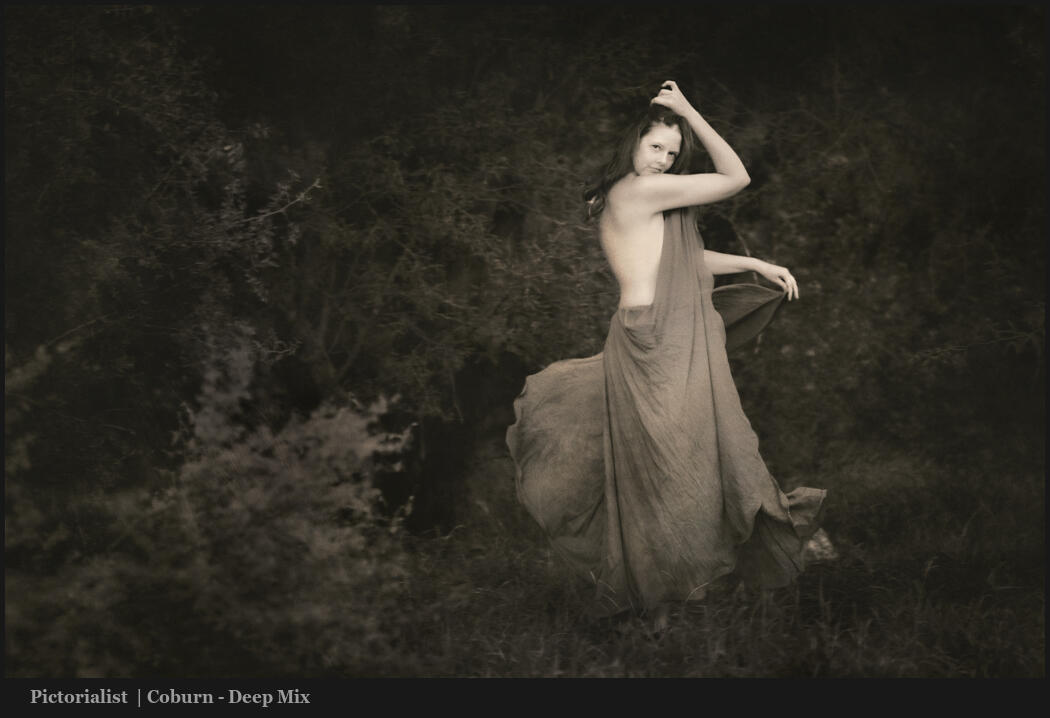
Even if you have a strong style, it will get stronger as you edit for cinematic photography and emotion. You still need to experiment and feel what’s inside each photo.
I’m a photographer who makes large prints. So details matter. But it’s not always about the max megapixels or sharpest lens. Pictalism has taught me that emotion is first. yes, I maintain detail, but the blur is not always what it seems, and mixing detail with less detail creates atmosphere, emotion, and focus.
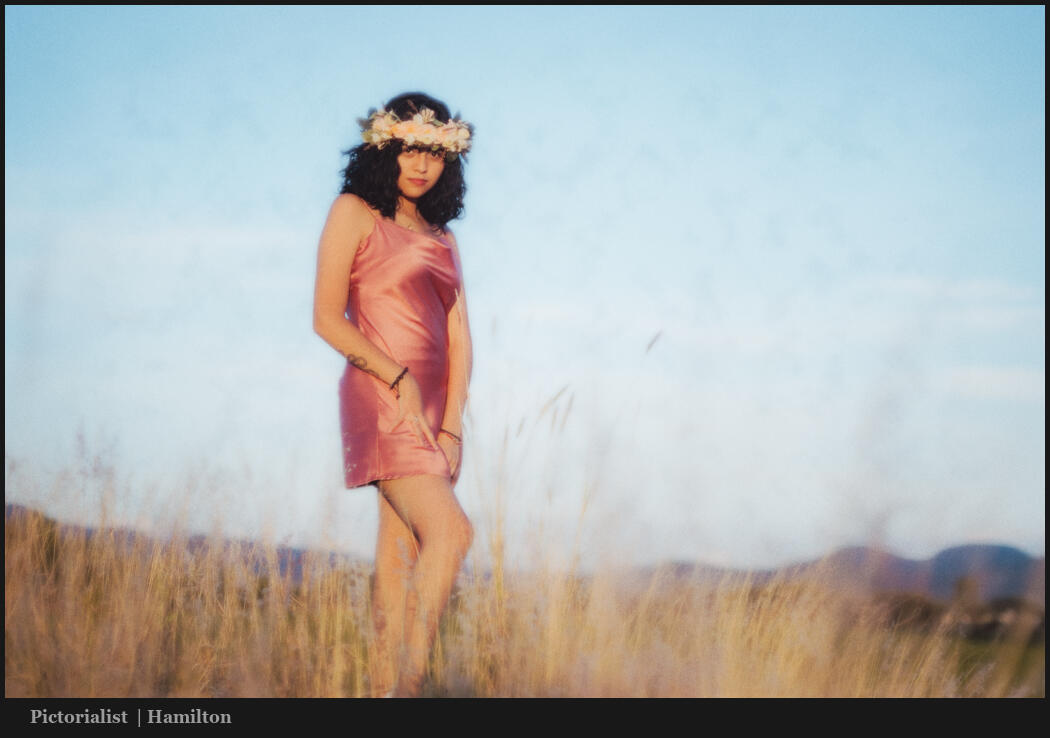
Pictorialism gives you a Cinematic Technique and is the essence of conveying real feelings in your photos. Because of that, it’s the opposite of what fake Ai based images create. You may not approach every photo as a pictorial. But once you know how, you see everything in a new way.
Gavin Seim