We say gear or new tools don’t matter, but sometimes they kick our inspiration into high gear and that does matter. I bet you’ve felt this too. Photos being too perfect was the topic of today’s Pro Photo Podcast so go listen in the background.
1. What is modern pictorialism
A new camera is exciting and gets us shooting. But sometimes simple things do that better.
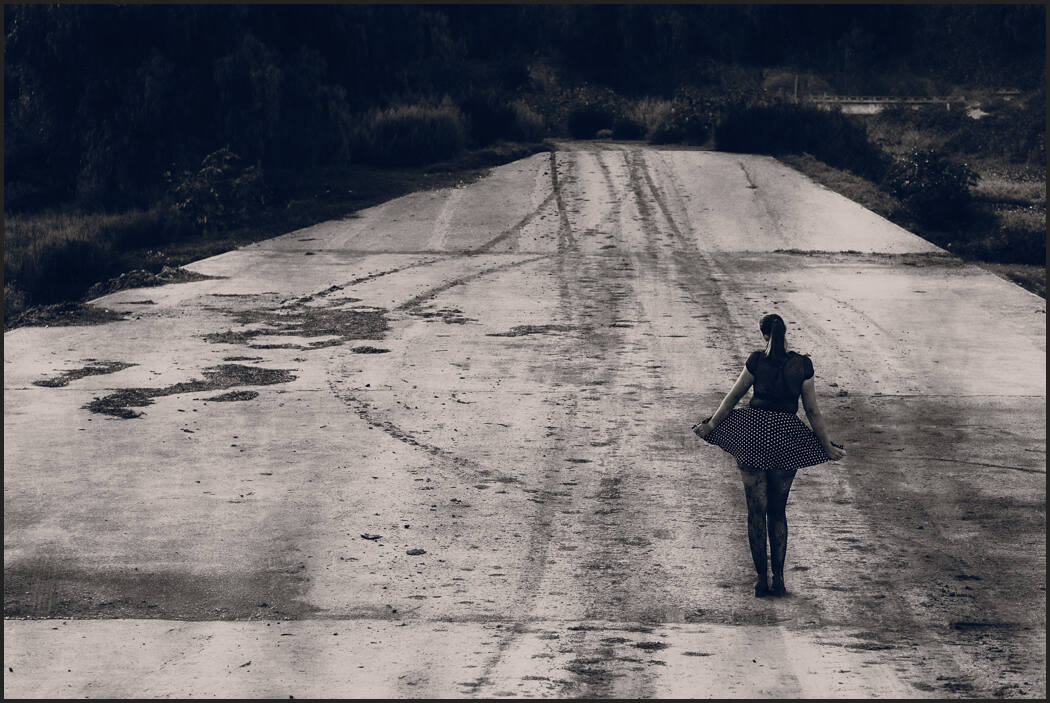
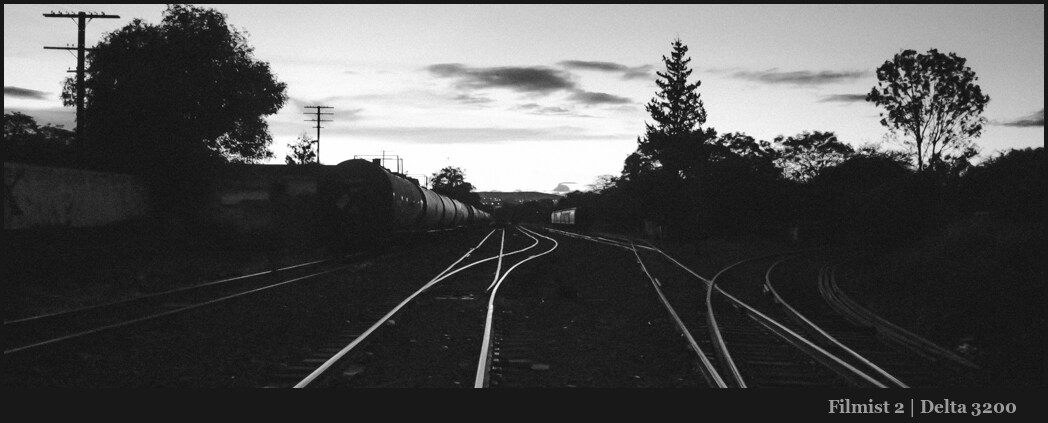
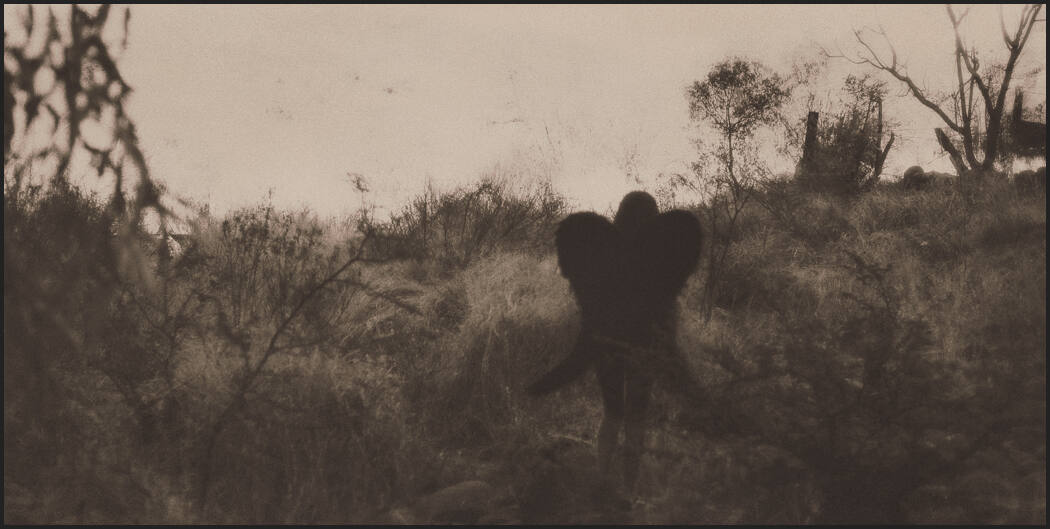
There’s a lot to be learned from history that we usually ignore. And the deep shadows drawn by pictorialist photographers are no exception.
In those days low detail drawm was more natural to the limited cameras and films. But it was still international. Today we have digital, clean details and sharp lenses but we can create that mood using modern tools and techniques in camera and in post.
I’ve bought expensive new lenses and stood with an empty wallet and a little excitement. Yes, they made my vivid landscape photography perfect and shape and I took good photos. But often it’s the imperfect that helps me discover shadow.
You don’t actually want every detail…
When I started buying old vintage lenses for a few dollars they had beautiful often soft details. Each one was like getting new gear even though it did not cost me that much. I pushed myself with them and realized that shadows not light and drama not sharpness were secrets to great photos.

2. Old lamps and tables can teach us about photography!
Have you thought about why are rustic lamps and 19th-century lights so popular in 2024 and how that relates to photography? I love coffee and art.

On the side, I’m in charge of ambiance and design in a large cafe in Mexico. Some of the most popular things are table games, worn-out photo books, and handmade rustic lamps with Edison lights and burned wood tables creating an atmosphere. It is the Cafe of Light, it’s warm and relaxed and in Mexico, a very unique experience.
These details are planned, but imperfect and they make people feel at home!
Now let’s take some photos….

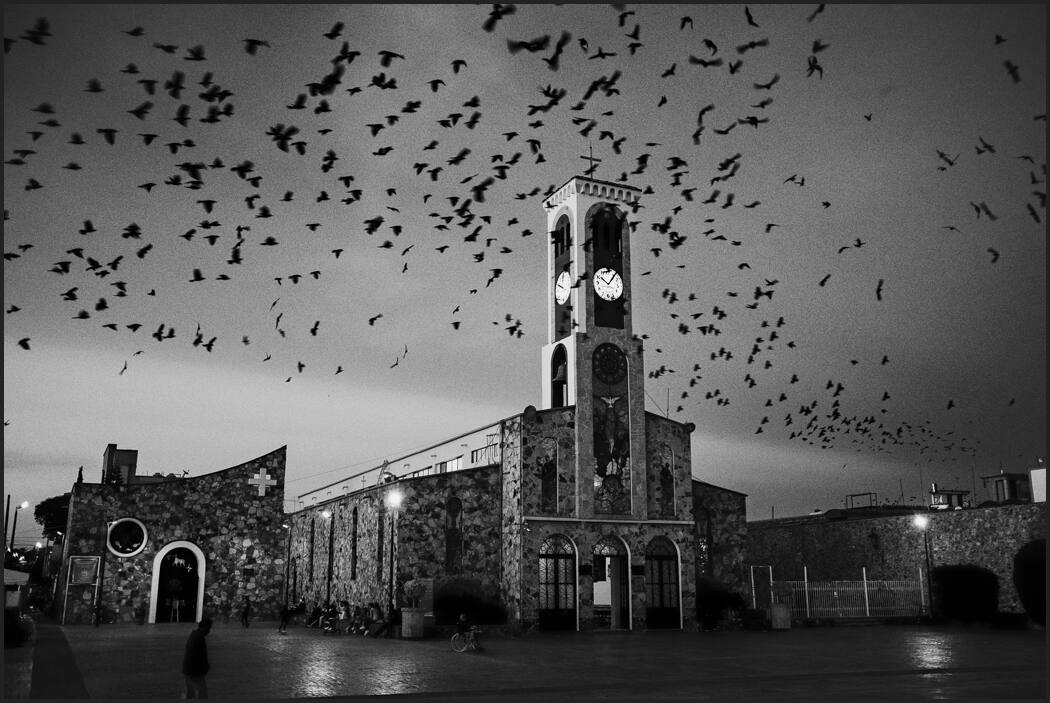
3. The pictorialists were not just abstractionists!
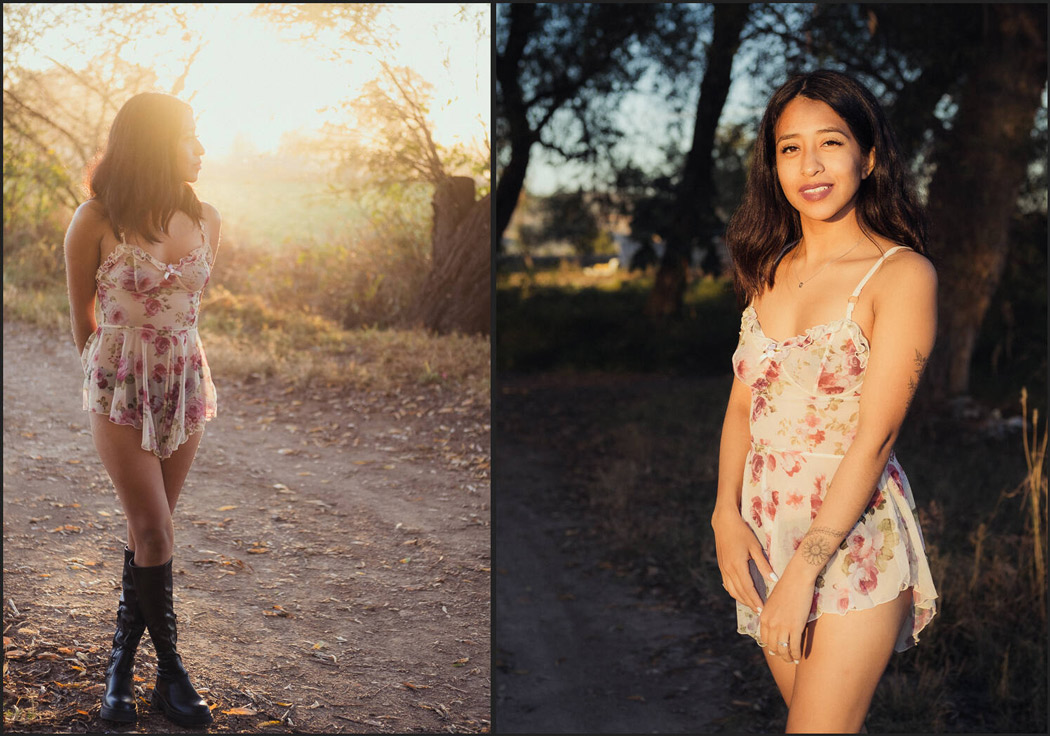
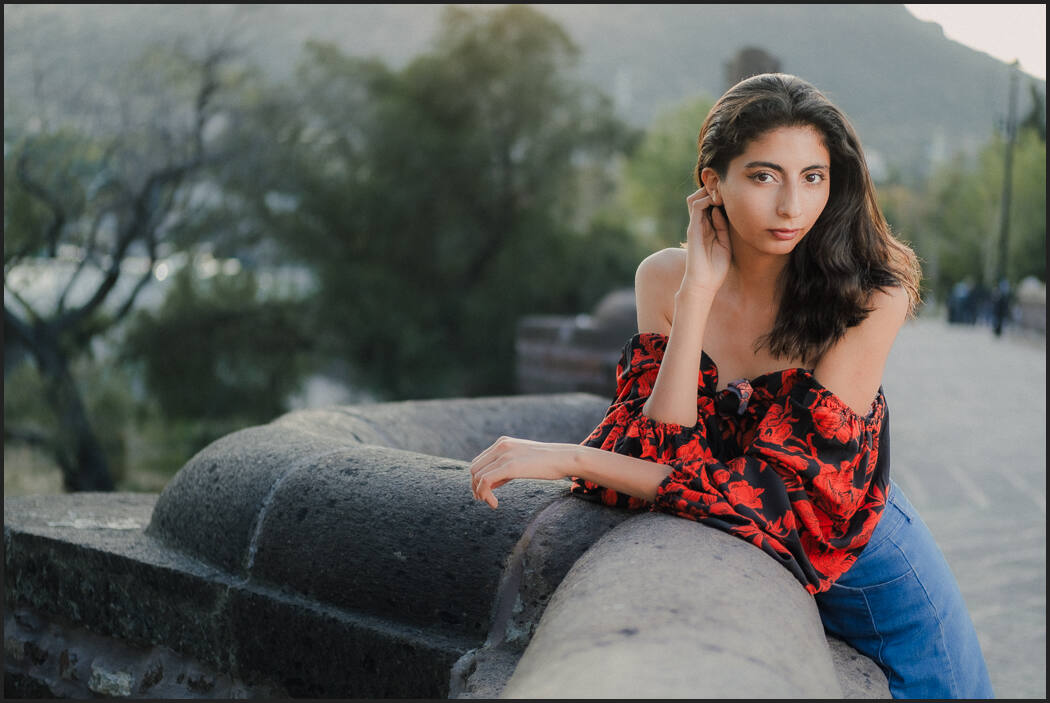
You can still have sharp detail. It’s not all blurs and abstracts. It’s about the atmosphere.
If you go back to the era of Alfred Stieglitz and the early pictorialist photographers or forward or forward to the 80’s era of partial fashion like David Hamilton you see a pattern. I’m going to share photos and their notes today to make this point.
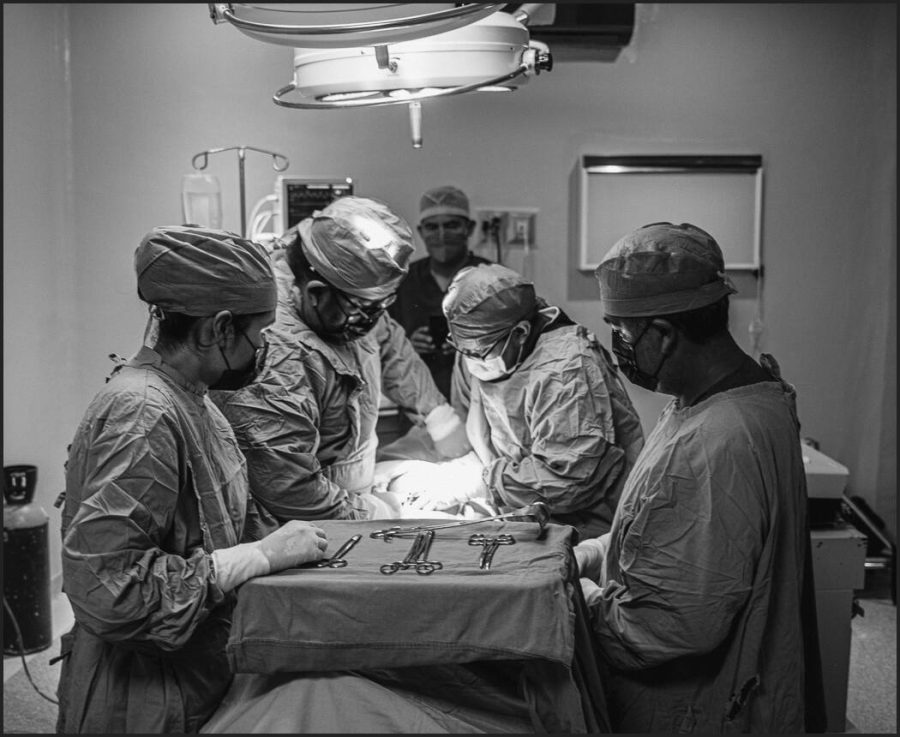
Being a photographer who stands out is hard in the 21st century. Perfect photos are so easy and often automated. But are they perfect or boring? As someone who teaches and prints wall portraits, I value detail and high quality. Sometimes you need megapixels. But it’s not that simple.


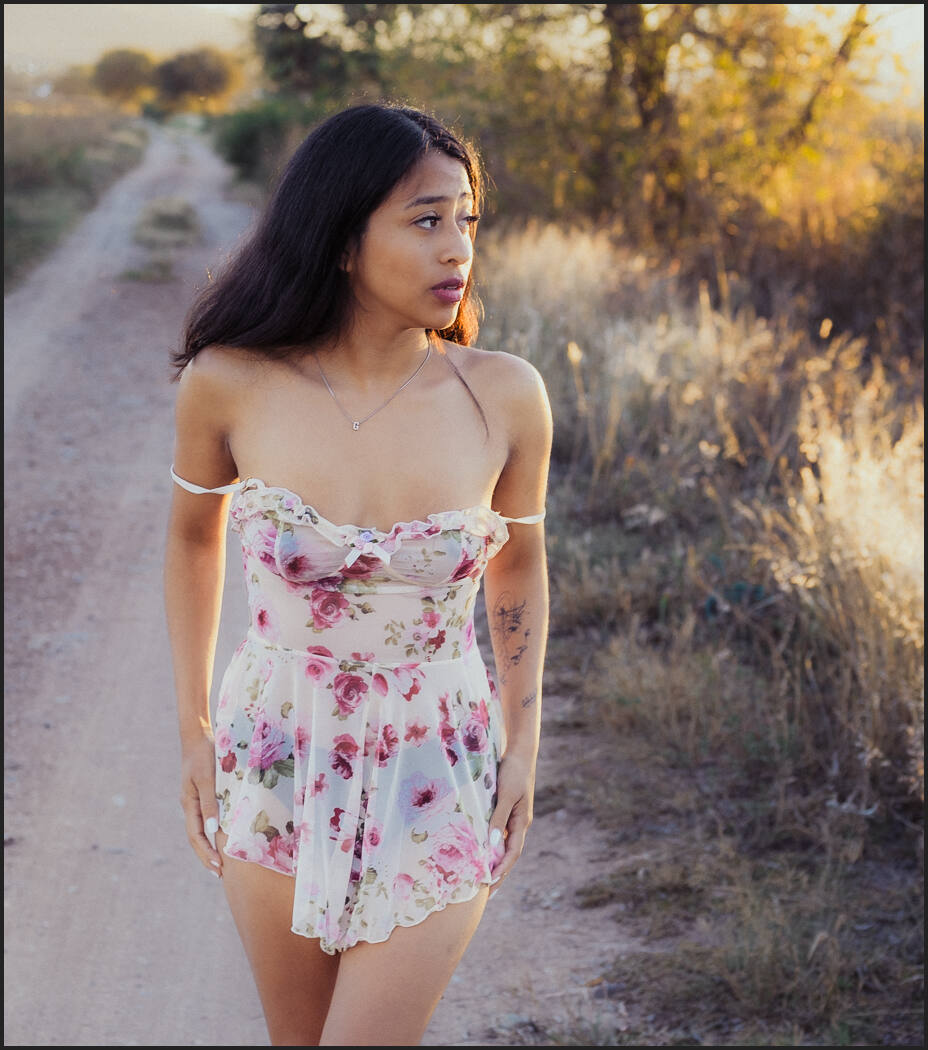
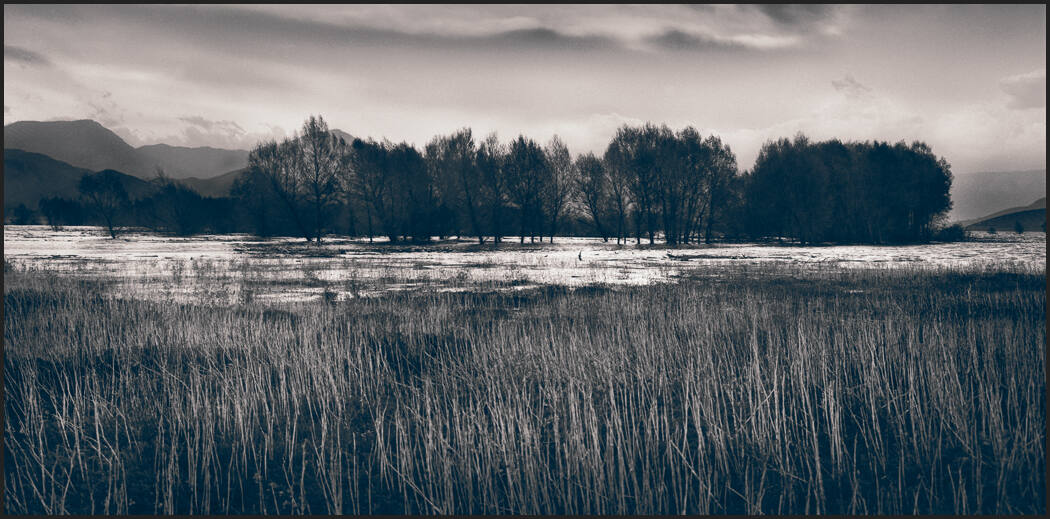
4. The best Details are not always the sharpest ones.
You see this especially when shooting film. It’s organic and feels like life in an Ain world.
Over the past few months, I’ve been working on a new editing pack to go along with Alchemist, backroom, and Emulsion. But this time I’ve been digging into iconic analog methods and getting inspired by implementing these techniques in my session and editing.
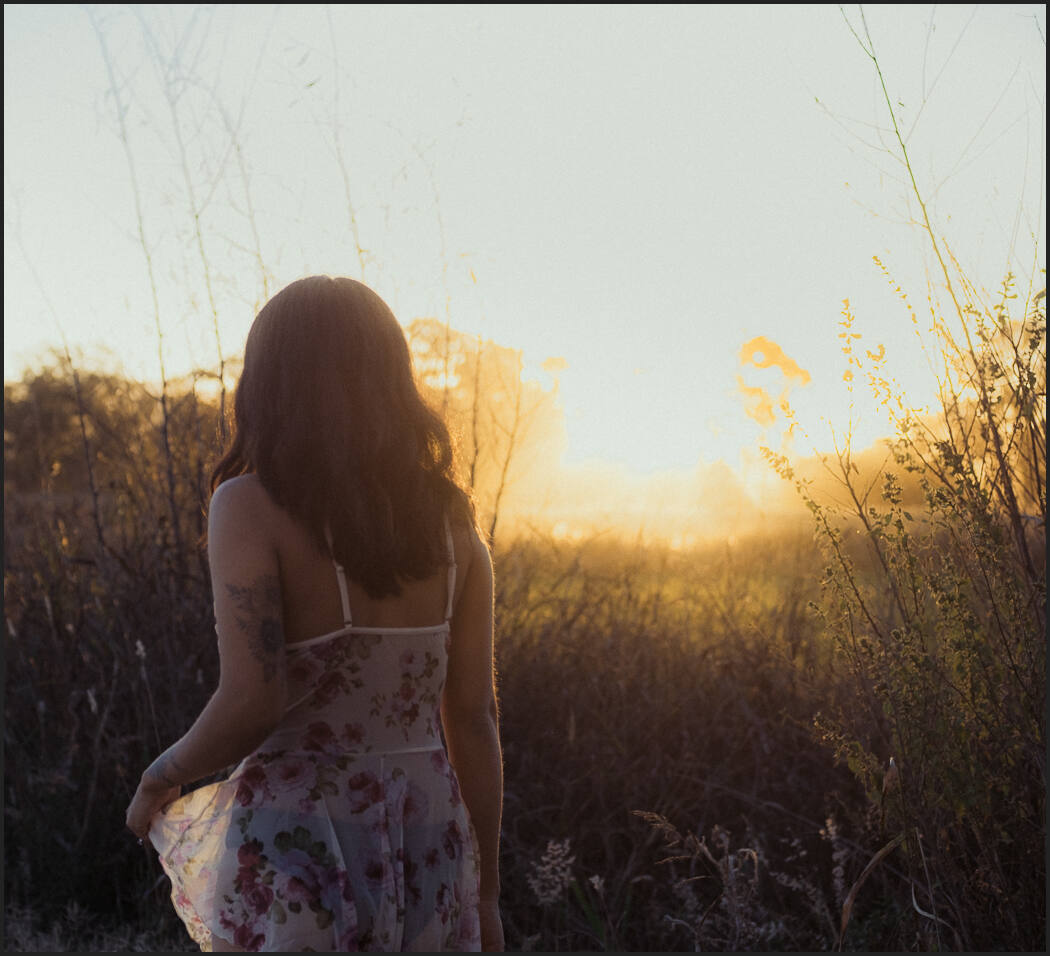
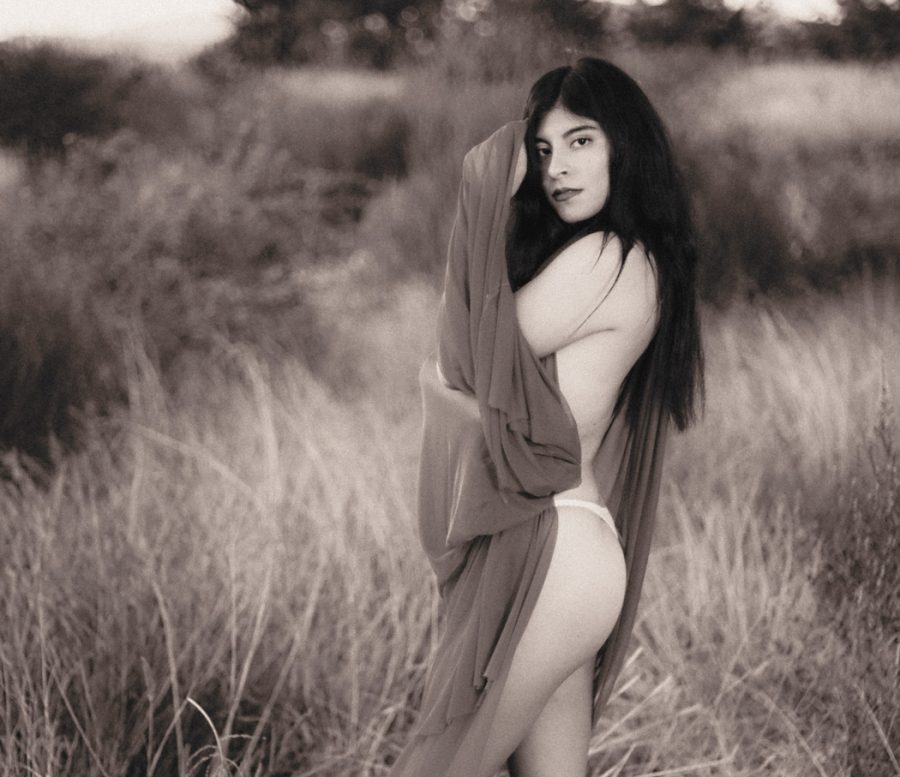
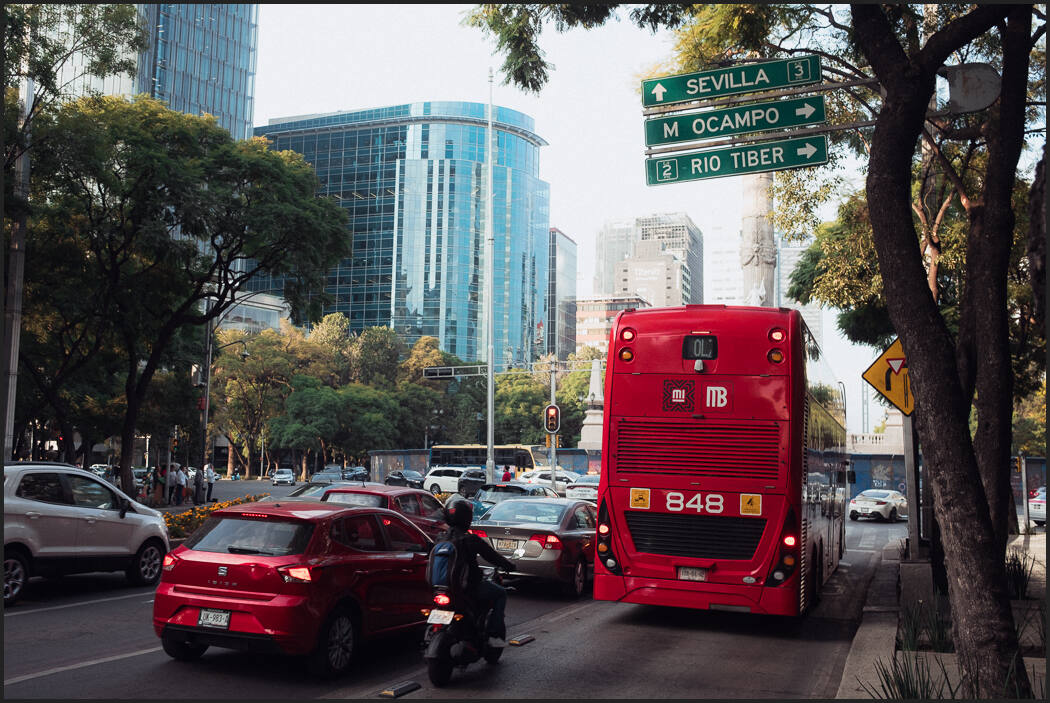
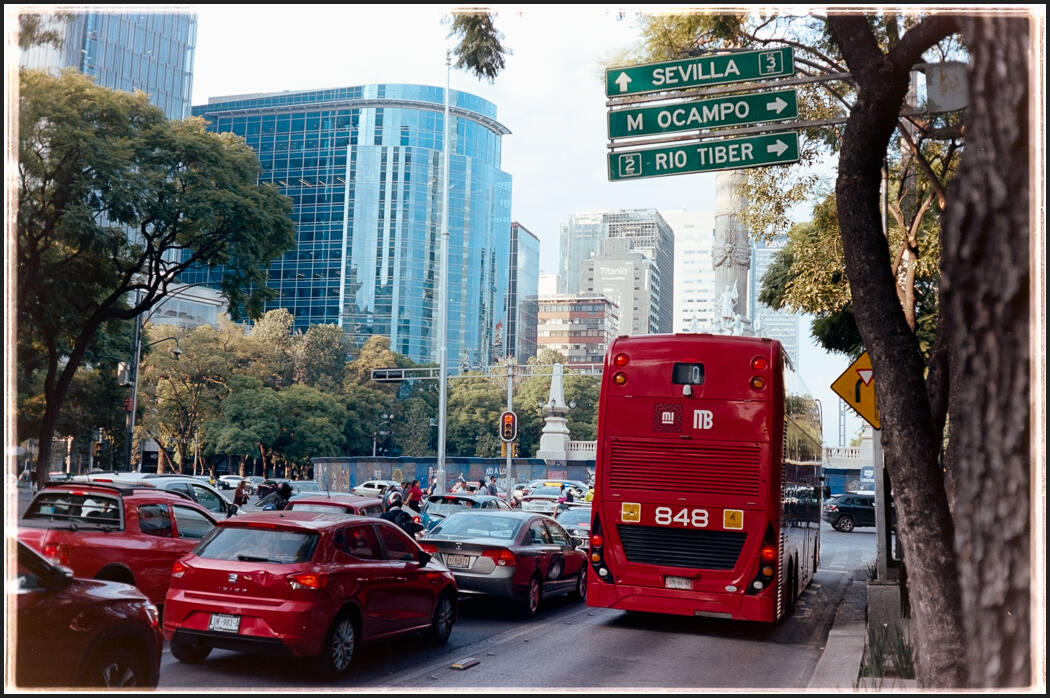
I edit a RAW photo. Say I use LR and C1 with Filmist or Silver. I get this edit and it’s good. But I’ve always said if I take the best photo and go to Photoshop, use layers, use Lumist or Blackroom or manually burn and dodge. I’ll also add something more.
Look at this film test and see what I mean…

6. Stay Inspired without buying an expensive toy.
If you saw my important video on the power of TONE in photography or have been to a Shadow Hackers live class you have the foundation for this.
But if we stop shooting safe and sterile and go all in with shadows and trying things. Not every photo will work but we will get inspired and new direction.
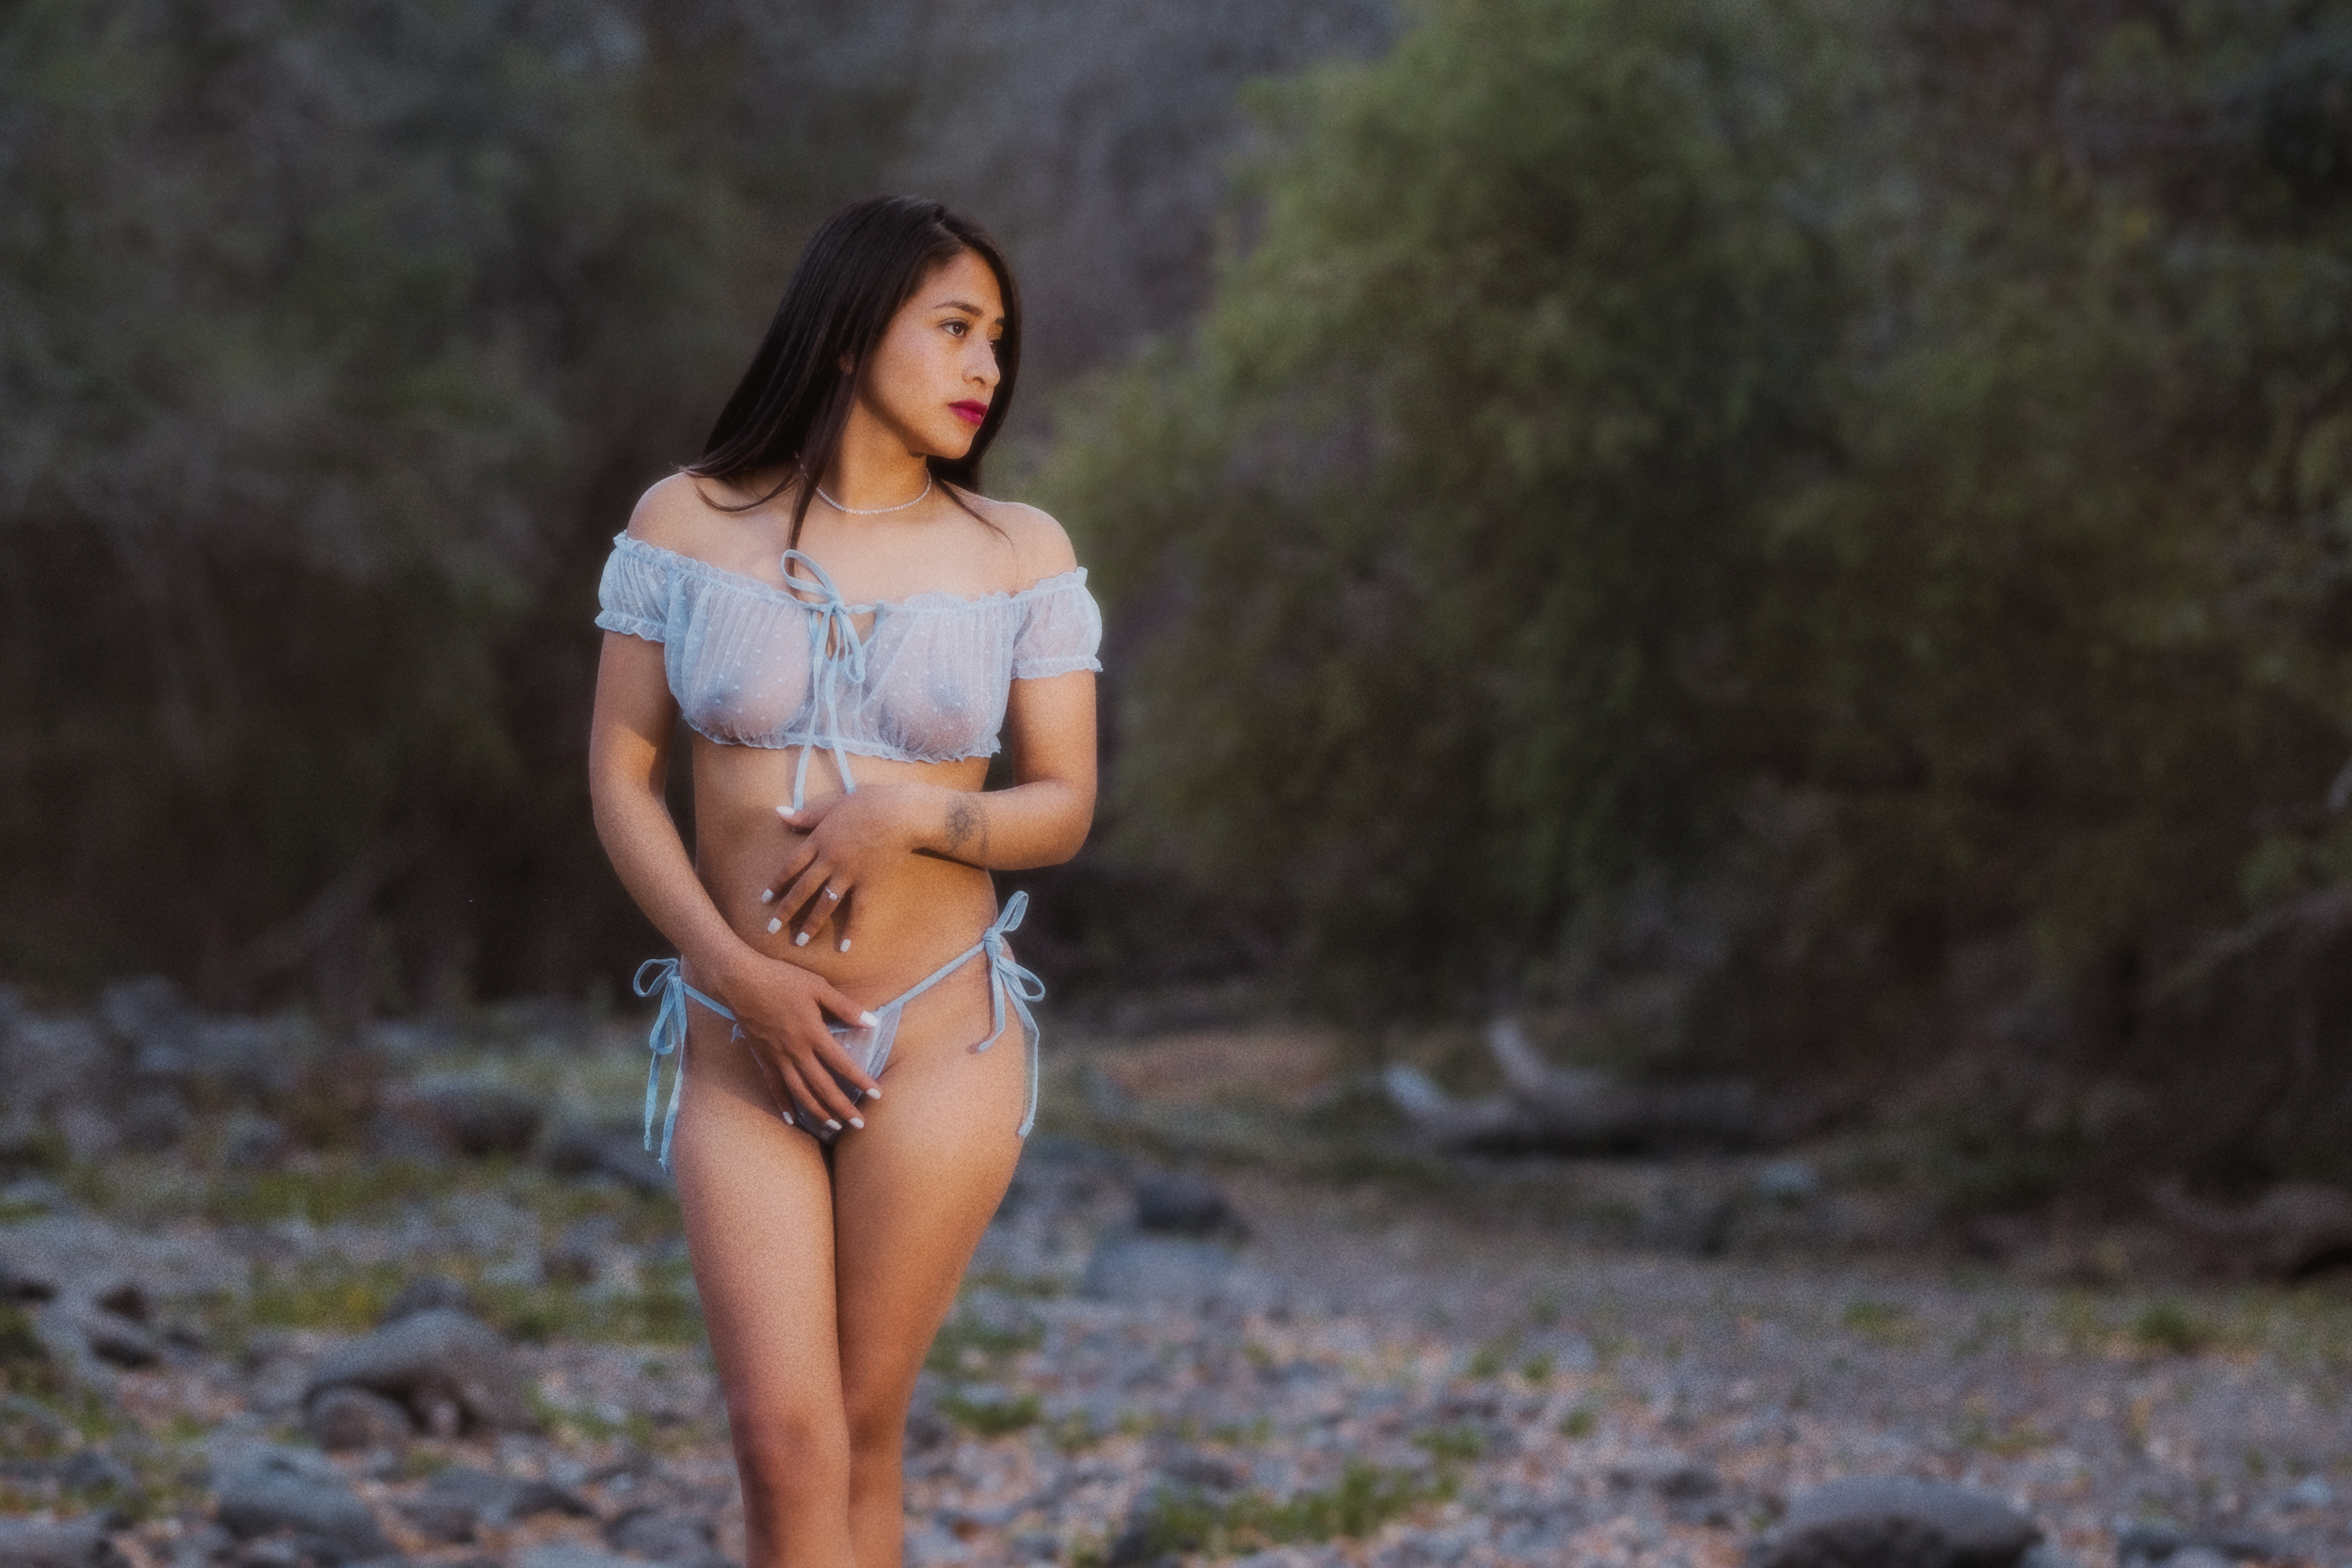
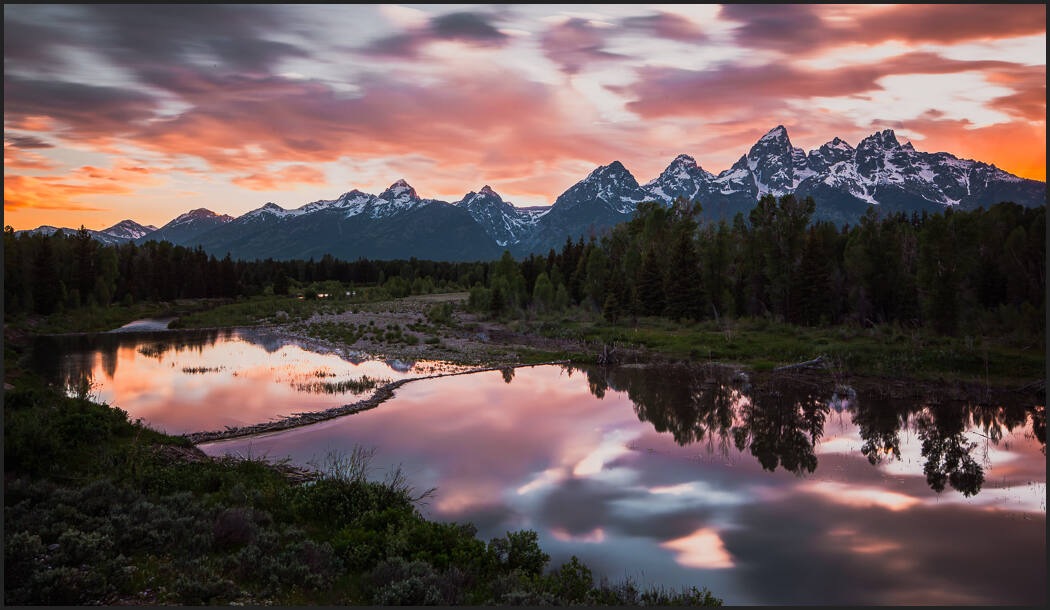
If you go on a trip to a beautiful place, I find a vibrant street or make a session with a beautiful person you can get inspired and create something fresh.
But I also get that when I am trying old techniques, trying to create new effects, and just going out with my camera trying extremes and not being afraid of detail but focusing on emotion and atmosphere.

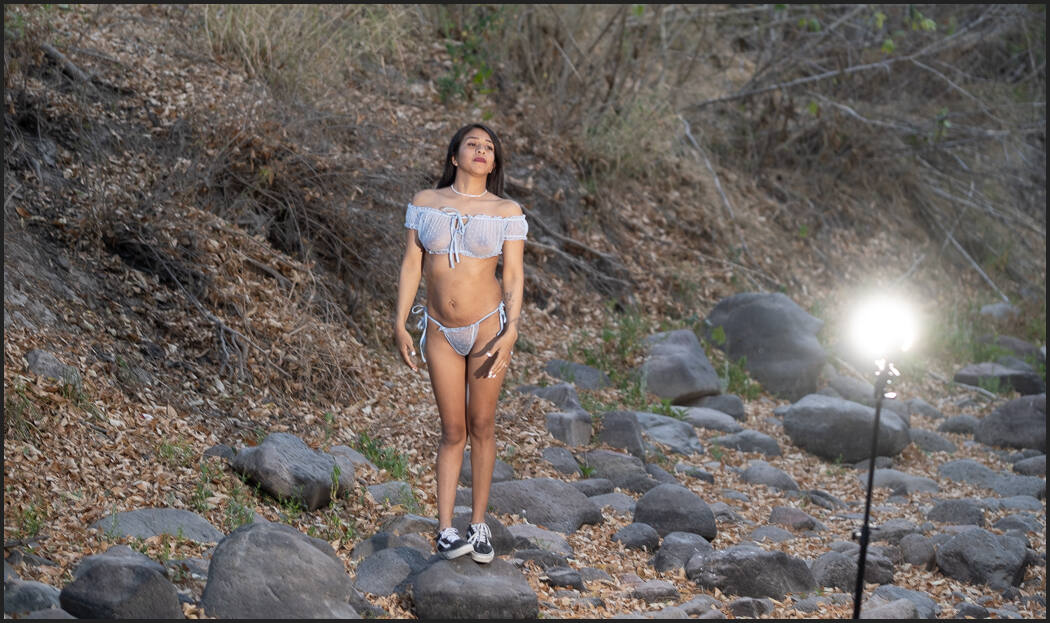
7. Staying flexible matters in taking photos.
Using new software or atmospheric editing effects will inspire not only your edits. It will make you think more about what you create on camera like it has done for some of my recent sessions.
Maybe you should wedding, or school photos. I know from experience it’s easy to get it a rut. So little things like an old lens that flares, making your glass dirty like David Hamilton or keeping some of the blurry photos and editing them in a more haunting way can change how you see the world.
Some of these photos may speak to me and not you. Some may be great and some not. But each photo I shared today affects how I feel and then the emotion of tone when I create the next session. It pushed that inspection we always need as artists.
I hope you found some inspiration and will share your comments below – Gavin Seim