Masking has come a long way in LR and C1. Today I’ll pit them against each other. But I’ll also show you the best ways to use masks, how I use Elegance 5 and why masks are actually old school.
My little Masking master Class…
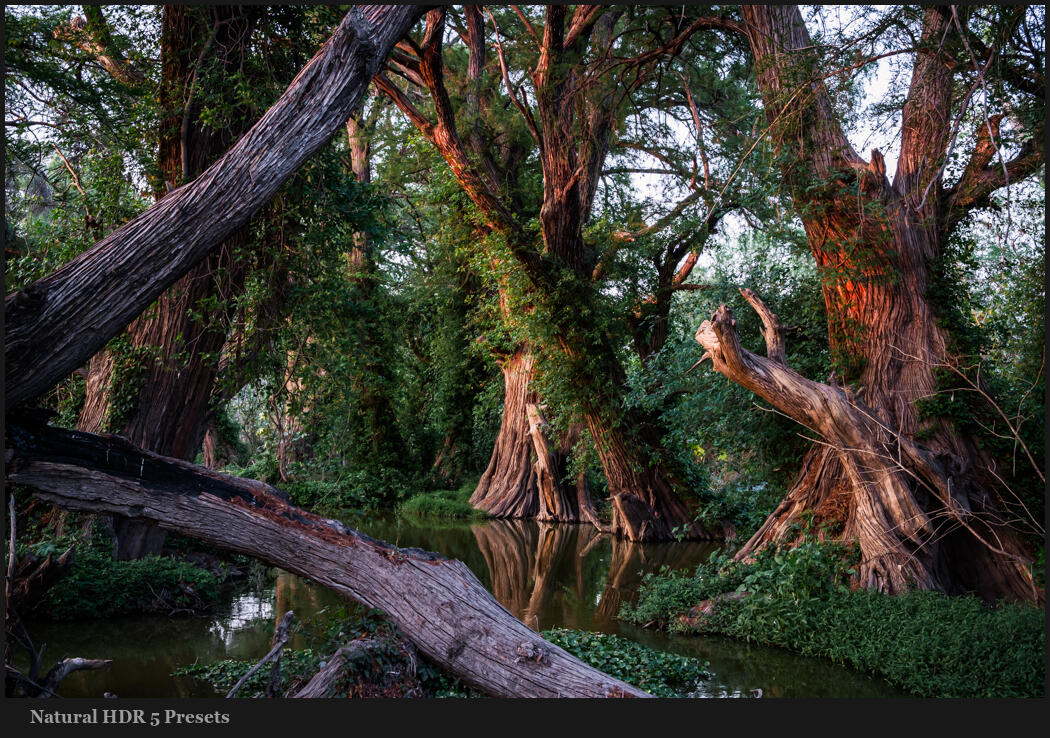
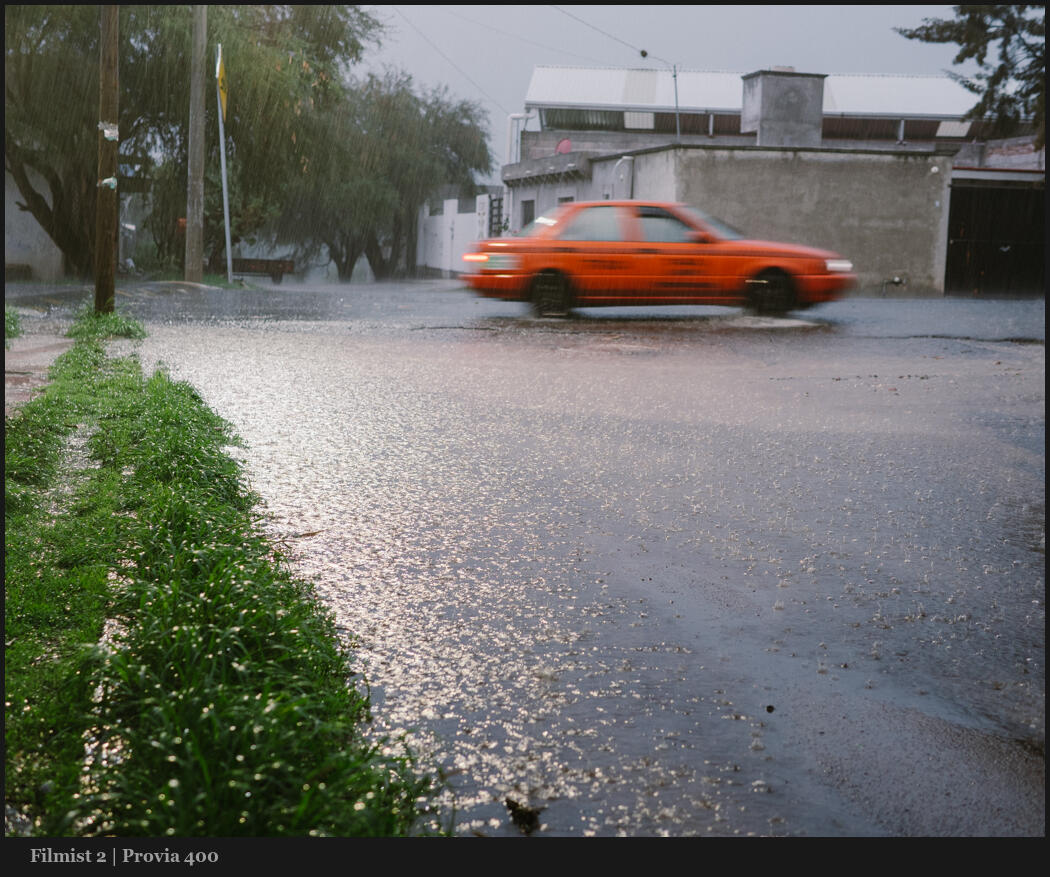
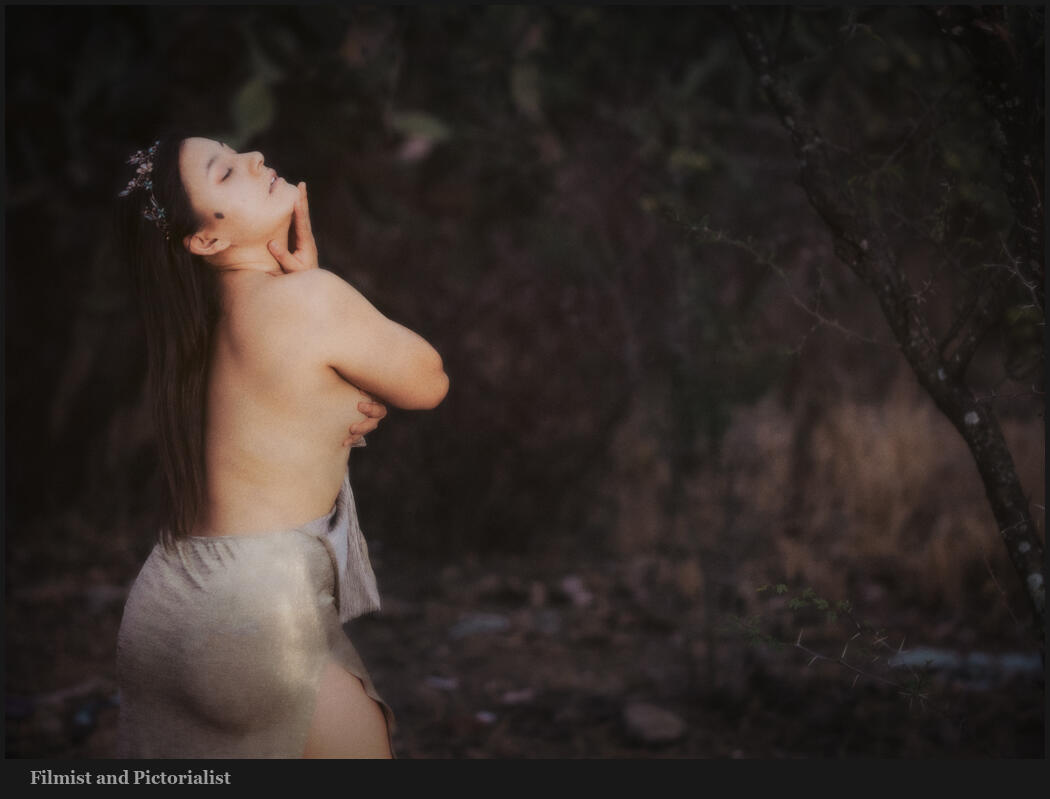
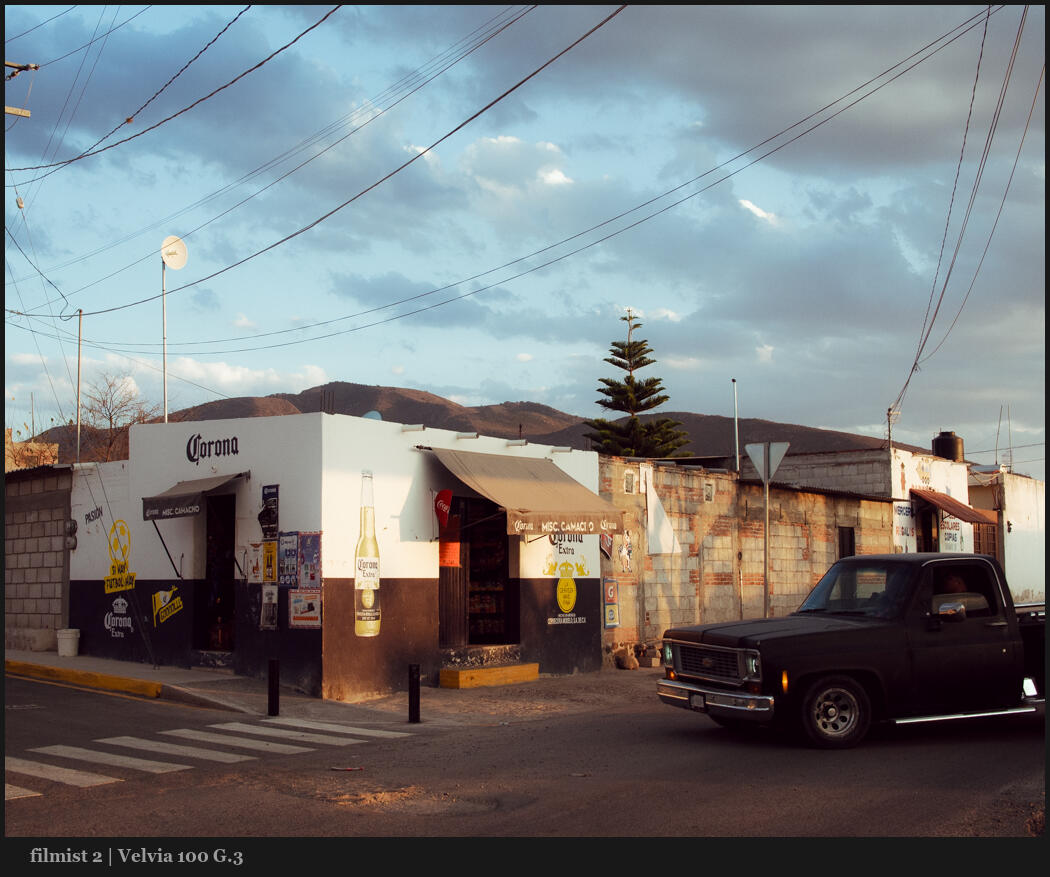
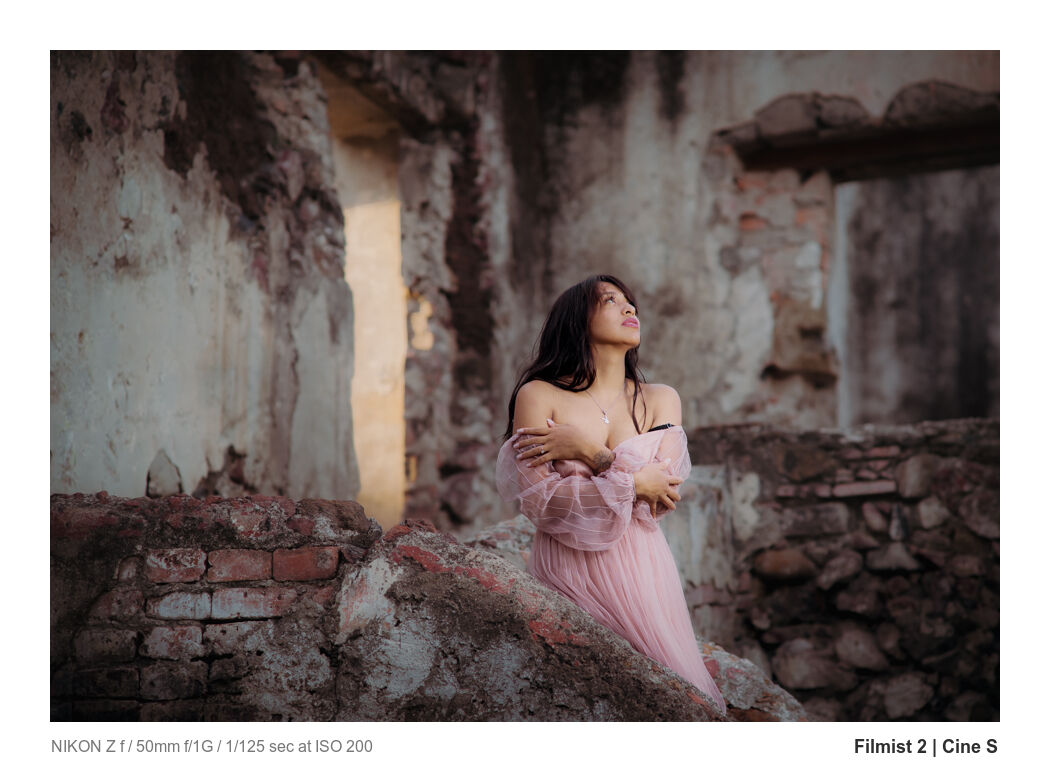
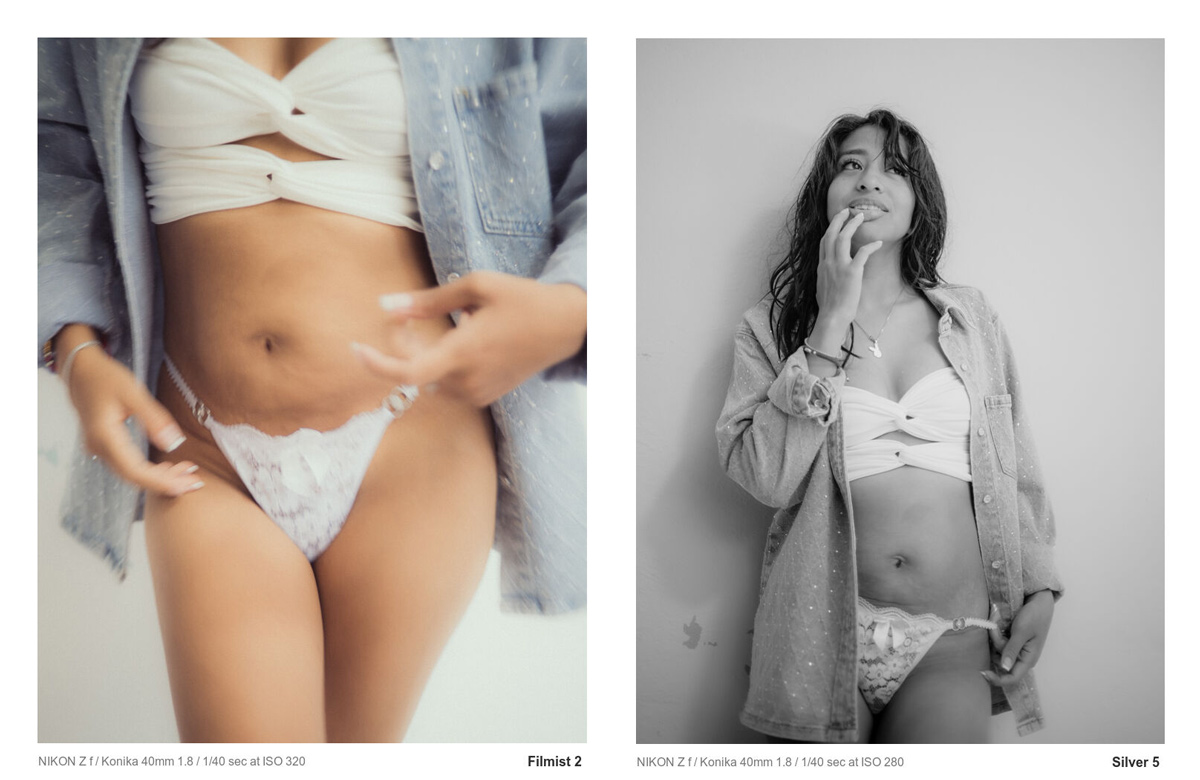
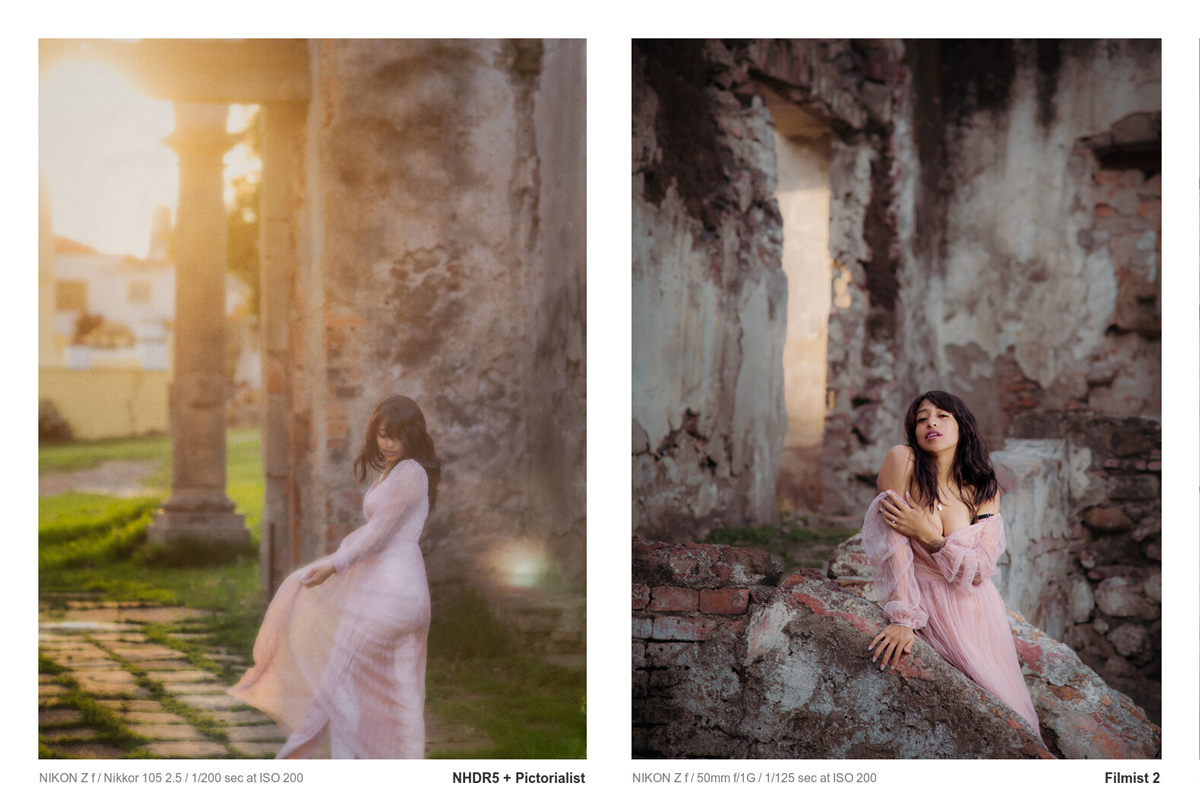
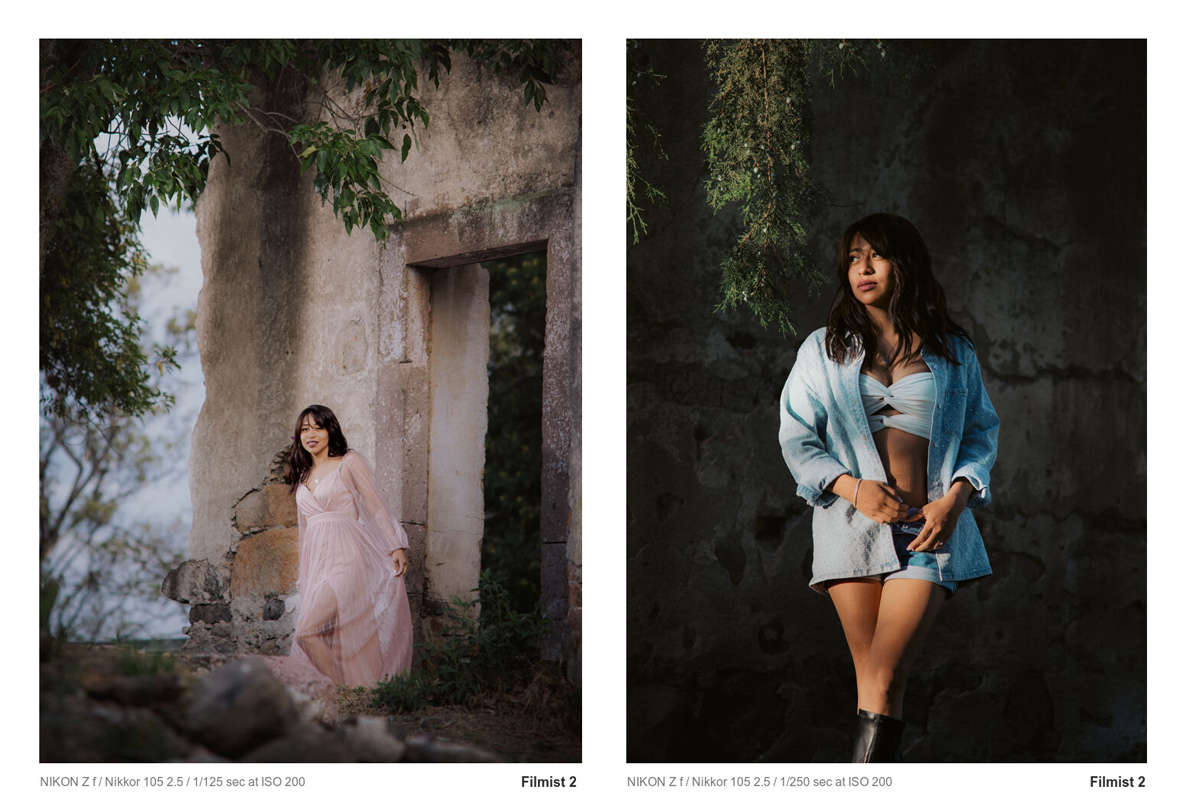
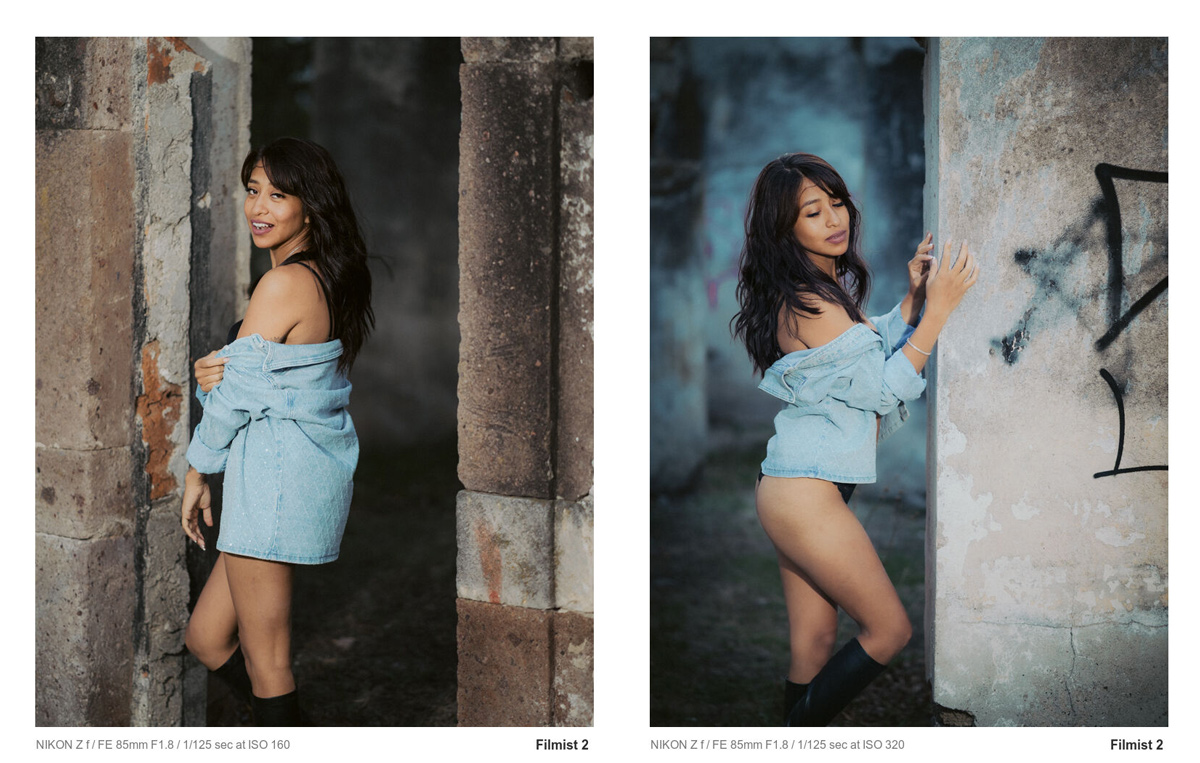
Get Elegance 5 here. Also check out tools I used like Filmist 2 and Natural HDR 5.
The least understood thing in Photograph…
Is TONE! The great Ken Whitmire drilled that into me years ago and it changed everything. For more on that come to my next Shadow Hackers workshop.
Tone is what created separation and depth. It’s Luma value, color values and the way shadow plays with light. It’s the oldest and least understood thing that separates master from amateurs.
Digital kids think all this is new in Lightroom and Capture One. But all that;’s new is the tools available to do it fast. What we’re doing is the same stuff we did in the darkroom.
The little Mask that Could
Masks are just a way to control tone. Not unlike burning and dodging in Photoshop, the saturation brush or the curves tool. Speed masks are just the most effective way to manage them.
There’s a reason I’ve spend years now refining this process. Because if you don’t use Speed-Masks, you might as well skip masking in these apps and do it the old way manually in Photoshop. Yes it’s that slow to do these complex meshed masks manually.
The keep is creating masks combos that direct the tone the way you want and making sure they are dialed in well so you can use them on any image. That’s what I’ve done in Elegance 5 but you can do this your own way as well.
But is Photoshop still better?
Yes and no. For a general workflow Lightroom, Raw or Capture One are better because you can edit all images from sate with the same process and consistency. A film preset, then a speed-mask, then copy the setting to similar images.
In Photoshop pr another layer style editing you get more control. More manual, but more. You can paint in details and move tone. I automate this in PS as well with looks like Alchemist actions and Lumist. T he image refined in Photoshop is MORE refined.
So while it’s fair to say Photoshop is more refined it does not mean it’s better for every image but also you should not ignore it.
In the end and what I hope you see from this video is that shadow and tone are the important factors. These tools are just how to there faster and better.
Gavin Seim